How to Make Food Photography with AI: The Complete 2026 Guide (No Stylist Required)
Stop paying $800 a dish. Generate restaurant-grade food photos with AI in 5 minutes, overhead heroes, action pours, lifestyle tables, macro close-ups. Complete workflow with 12 ready-to-use prompts and Gendia's Product Staging template.
Most small restaurants have the same headache. Their food is actually pretty good. The photos look like a line cook took them on his iPhone at the end of a Saturday night, because that's literally what happened. The traditional fix was to hire a food stylist and book studio time, and yeah, that fixed the photos. It also moved the headache from the photo budget to the marketing budget. Not really a fix so much as a transfer.
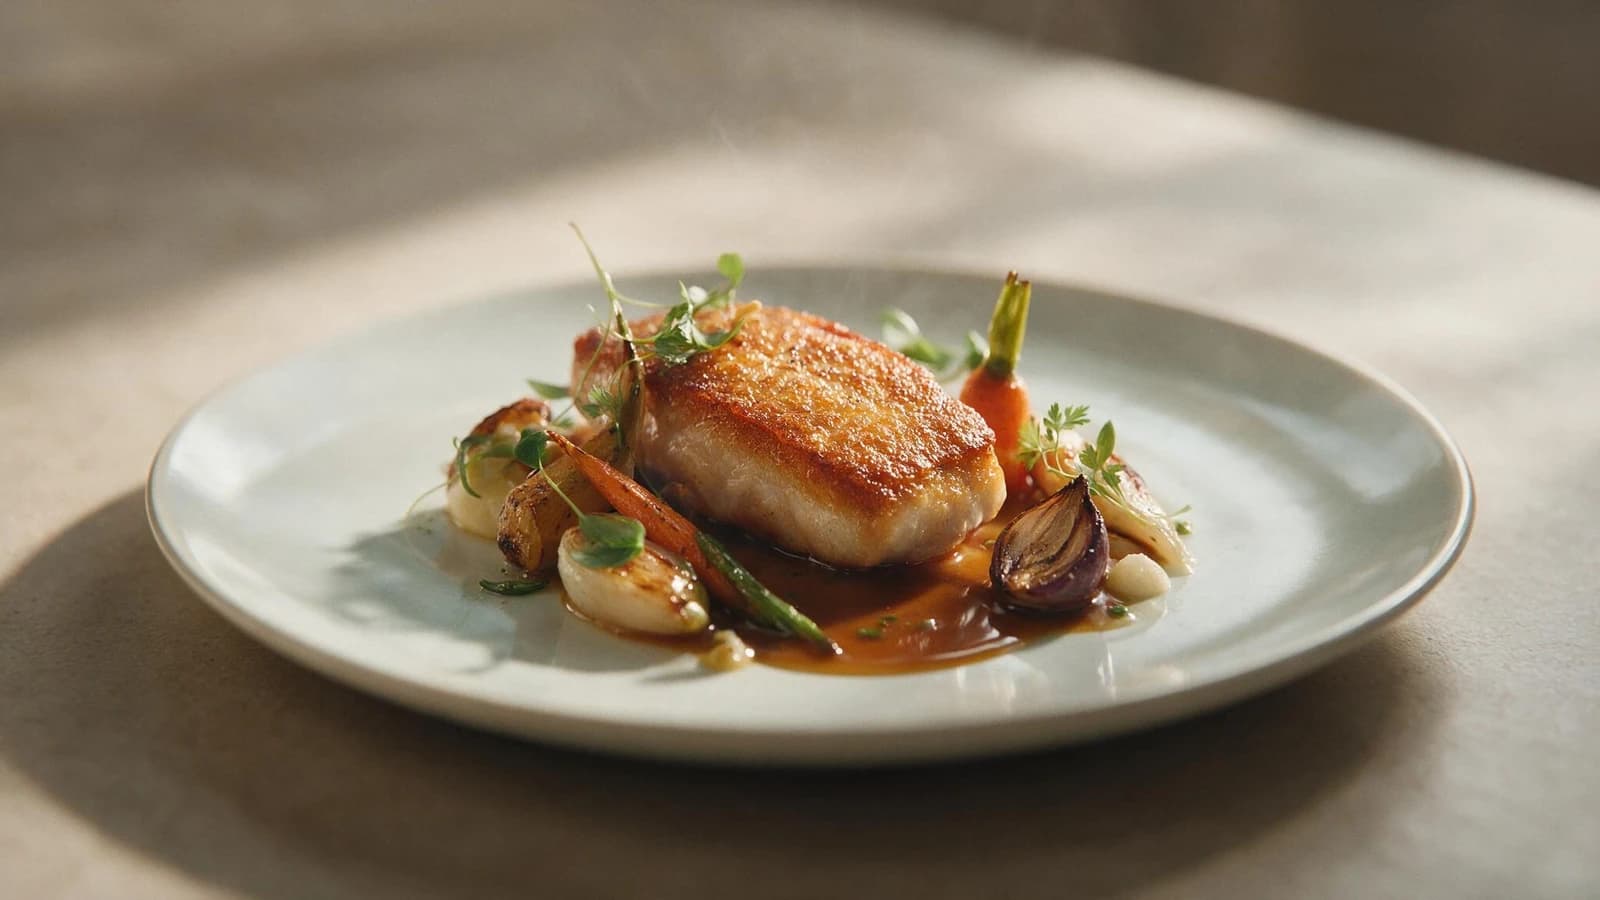
Then in 2026 something genuinely shifted with the image models. GPT Image 2 and Nano Banana 2, mostly. They figured out food. I don't mean "good enough for an Uber Eats tile", I mean the cheese pull actually looks like cheese, the steam actually looks like steam (not that soft-focus halo every previous model would slap on a warm dish), and the packaging labels stay readable instead of dissolving into garbled glyphs halfway through the generation. Feed one of them a clean phone shot of what you serve and the result is something you can put on a magazine cover. Genuinely.
What's below is the workflow I use on my own dishes, plus the 12 prompts I've ended up keeping in a notes file because I run them so often. Skip around. Most people only need a couple of sections.
Generate professional food shots free with Gendia's Product Staging template →
The fastest version, for people in a hurry
The whole thing, condensed:
- Upload a phone photo of your dish. Plated the way you serve it. Daylight if you can get it.
- Pick a shot type from the seven categories below, overhead, plated, action, lifestyle, ingredients, packaging, or macro.
- Paste one of the 12 prompts into Gendia's Product Staging template. Hit generate.
That's the floor. Everything past this is how to take it from "works" to "looks better than the cookbook spread you can't afford yet."
Why this is worth bothering with in 2026
Food photography has always been one of those things where the price is way higher than people realize until they've actually quoted it out. You need a stylist (the person whose entire job is arranging the garnish to look like it just landed there), a prop kitchen (because the white bowl that looks great with pasta is the wrong shade of white for risotto and nobody can explain why), studio lighting (because window light is unreliable on the day you have the shoot scheduled), and a photographer who shoots food specifically. Per dish, you're looking at $400 on the cheap end. A brand campaign? $2,000, easily, and that's before retouching.
The cost most people forget about is the food itself. A stylist will plate the same dish four or five times to get one good shot. Most of those plates are unsellable, they've been brushed with glycerin to look glossy, sometimes literally pinned together with toothpicks to hold a pose. It adds up. Restaurants just don't bother accounting for it because the photographer's invoice is already painful enough on its own.
Rough side-by-side of what the AI version actually runs:
| Stylist shoot | Gendia | |
|---|---|---|
| Per-dish cost | $400 – 2,000 | $0 – 30 / month total |
| Time per shot | 30 – 90 min | 1 – 3 min |
| Variations | Capped by budget and how fast the food wilts | Unlimited |
| Reshoot when you tweak the recipe | Full reshoot bill | Re-run the prompt |
| Seasonal menu shots | Schedule another shoot | Generate them same-day |
The economics are obvious but the bigger point is that the choice was always binary before this. Either you spent two grand on a stylist or you posted phone photos and hoped. There wasn't a middle option. Now there is.
The only thing that actually matters is whether the AI shots convert into orders. They do, but only if the input photo is plated like you'd plate it for a paying customer. I'll keep coming back to that because it's the single point of failure in the whole workflow.
Seven shot types it's worth knowing exist
Any working menu or brand kit ends up pulling from roughly the same seven categories. You don't need all of them on day one. It just helps to know what you're trying to make before you start writing prompts.
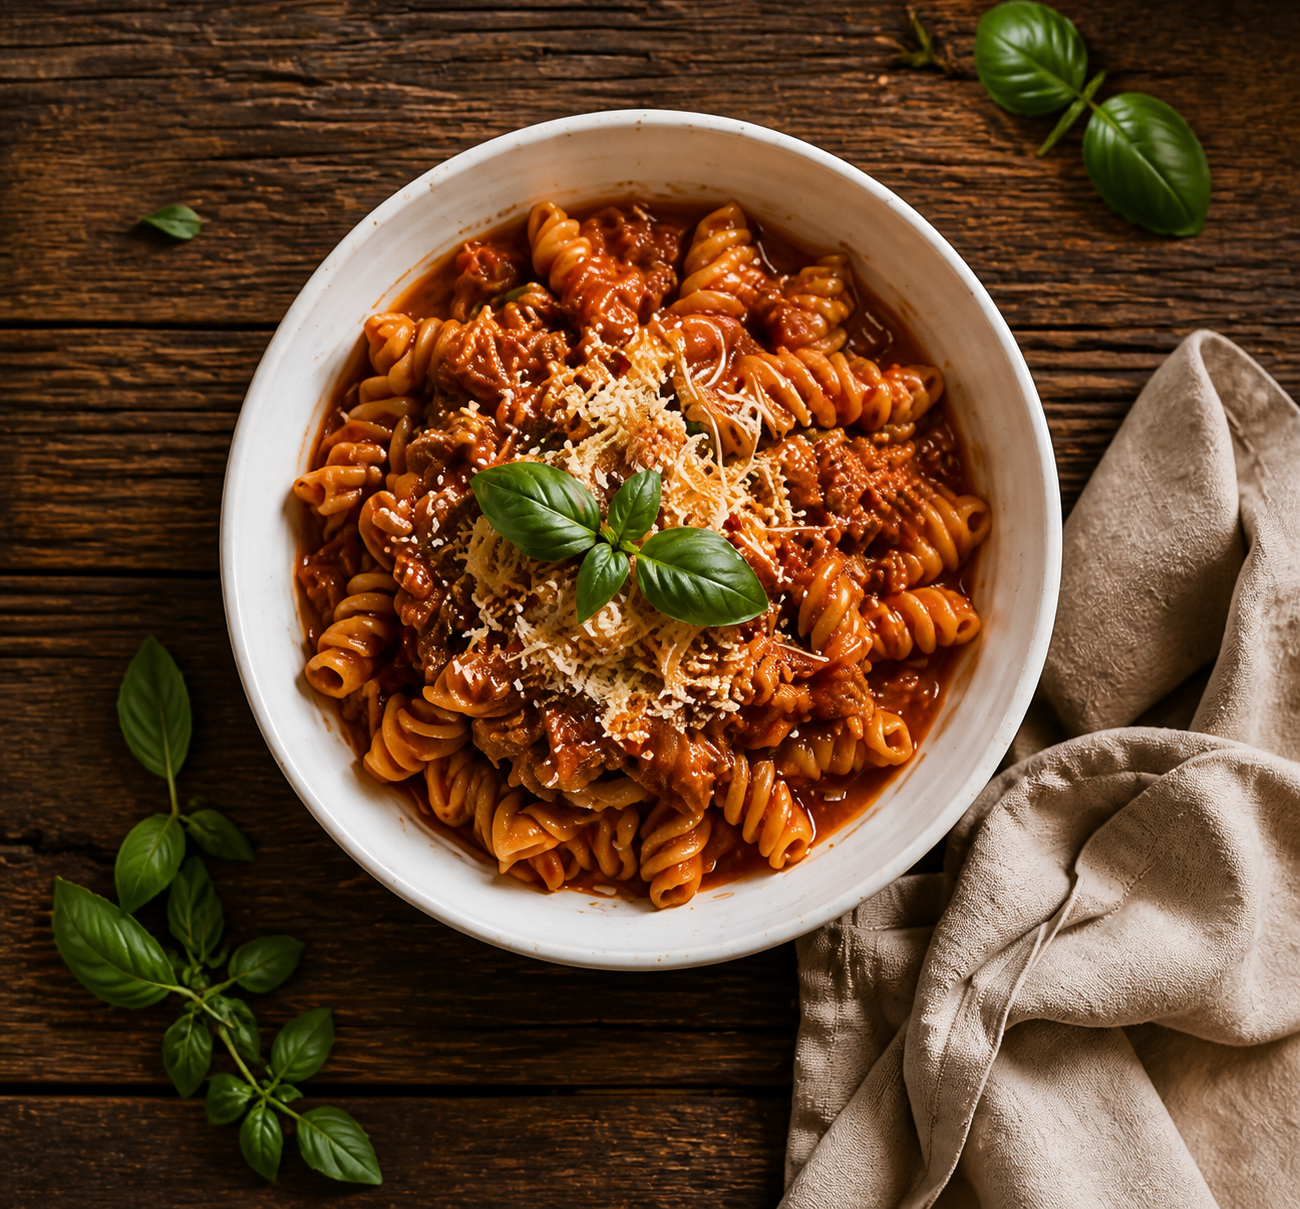
Hero overhead (top-down)
The workhorse. Camera straight down, dish centred on a clean surface, no horizon line, no fancy angles. This is what every delivery app, Uber Eats, DoorDash, 쿠팡이츠, 배달의민족, wants for the primary listing tile, and what most printed menu PDFs use as the hero card next to the price.
If you only learn one shot type, learn this one.
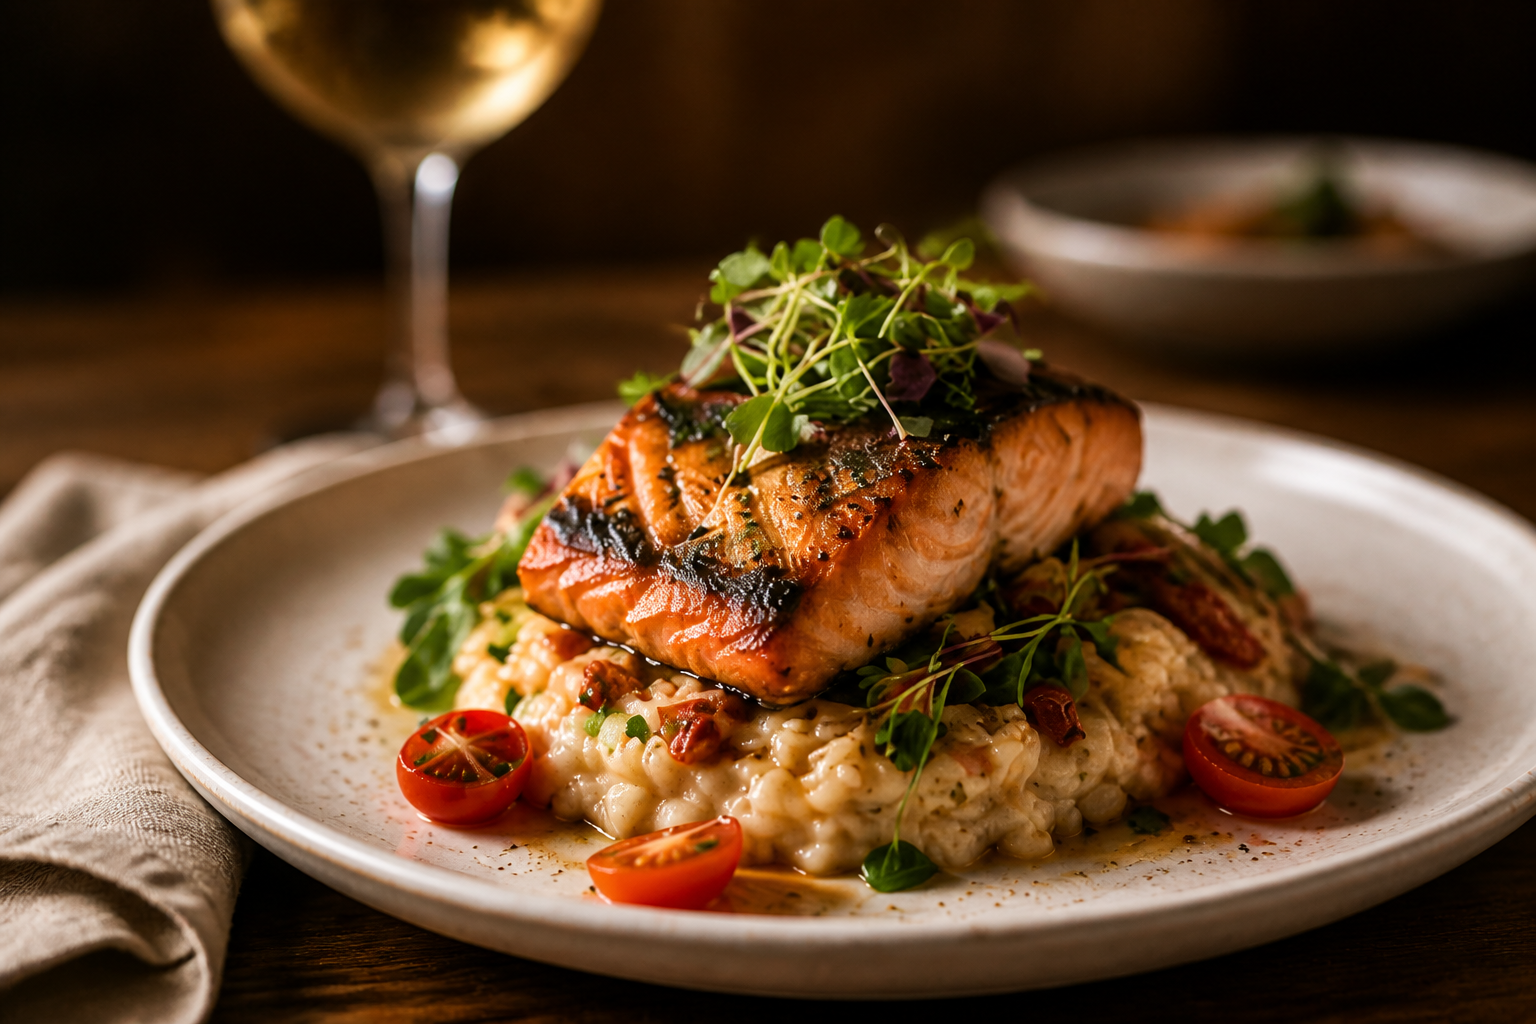
Plated entrée
Closer to a restaurant magazine cover than a delivery-app tile. Three-quarter angle (so neither straight down nor straight on), shallow depth of field, plate roughly centred but not surgically so. The look you'd put on a fine-dining homepage or a print ad. Reads more "expensive" than the hero overhead, which is sometimes the goal and sometimes overkill.
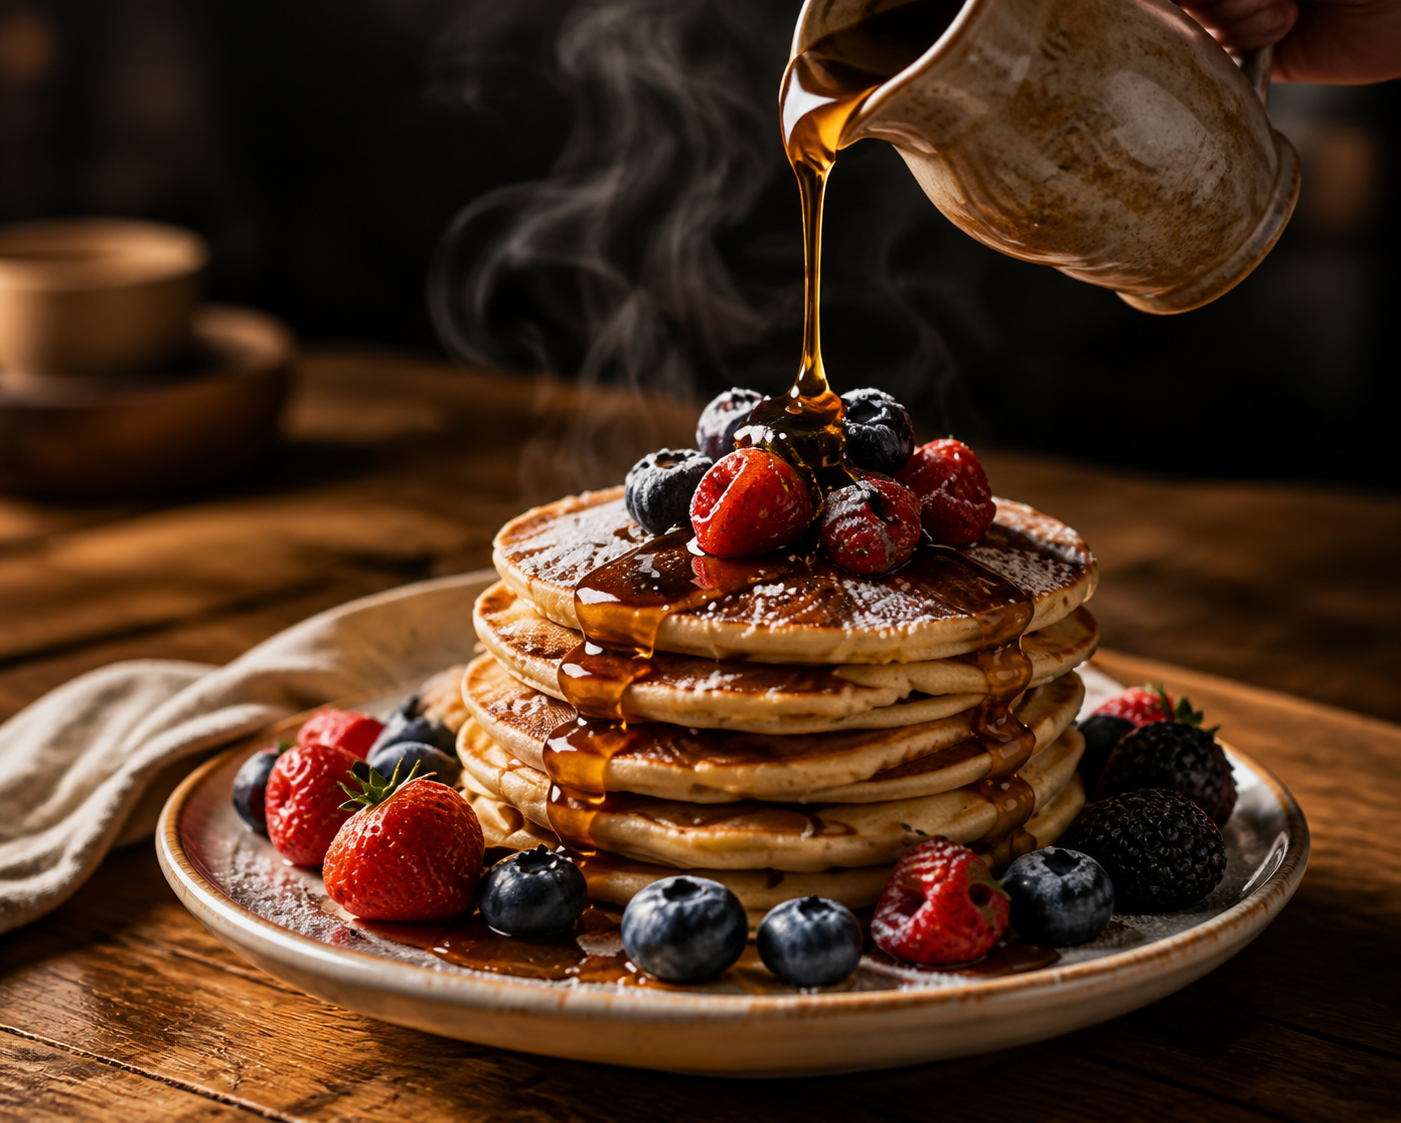
Action shot
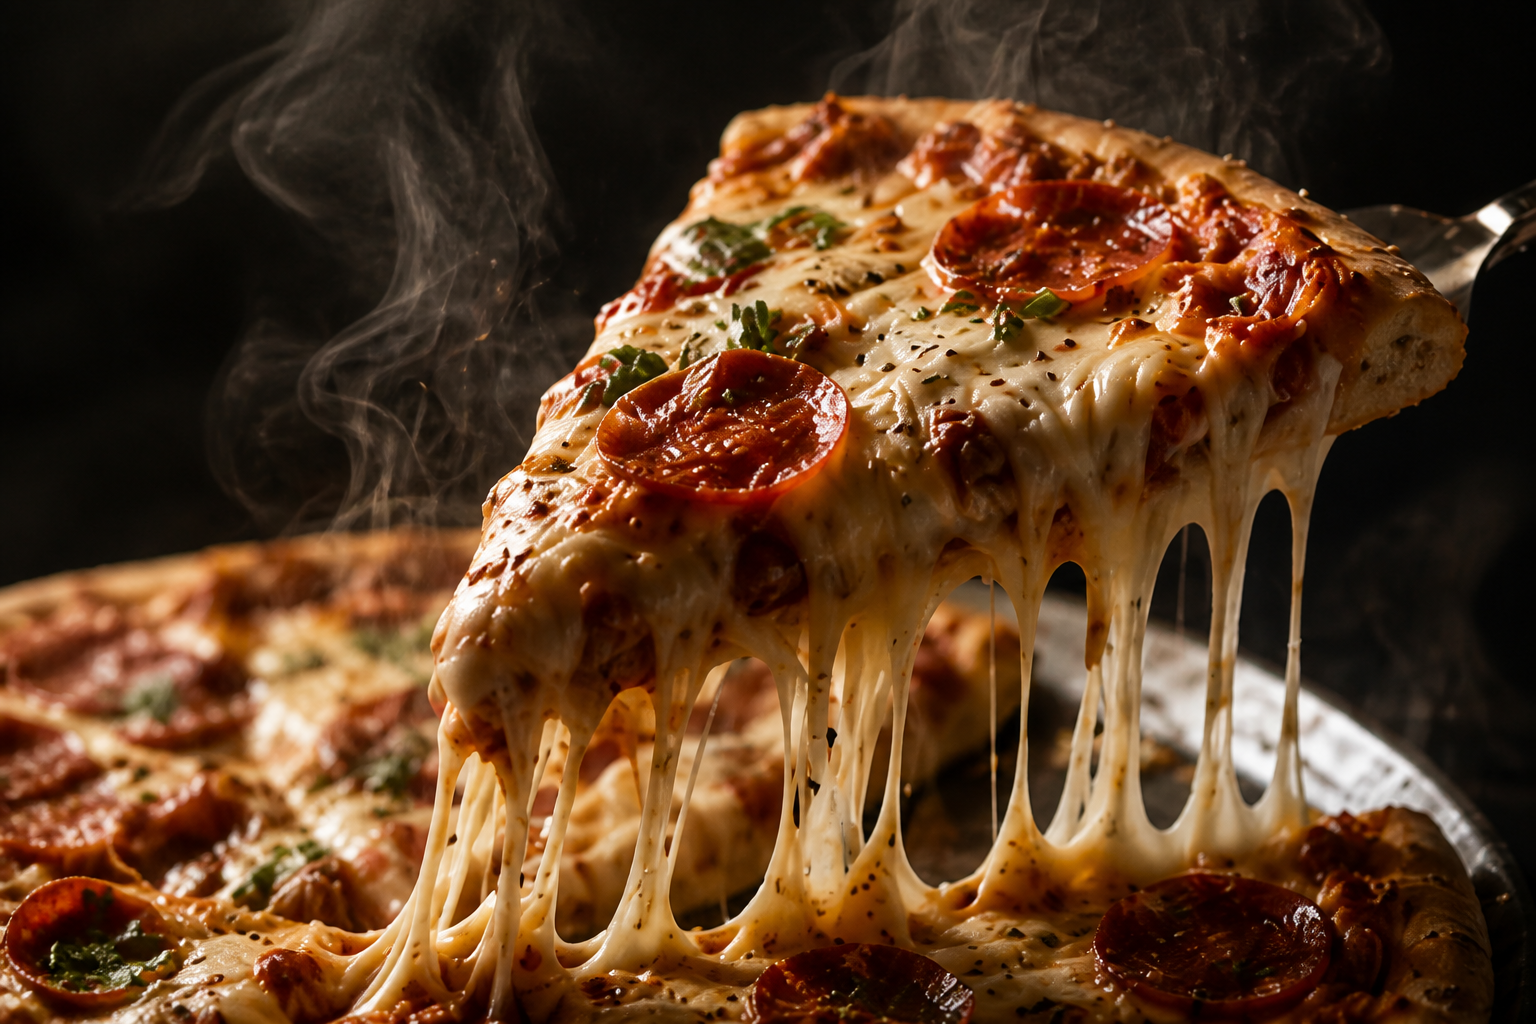
Steam rising. Syrup mid-pour. Cheese stretching from a slice of pizza. Sauce being drizzled from above frame. The action shot sells the eating of the dish rather than the dish itself, which is exactly why it stops the scroll on Reels and TikTok where a flat hero shot just doesn't. If you're paying for social ads, this is probably the format with the best click-through rate.
Lifestyle / table setting
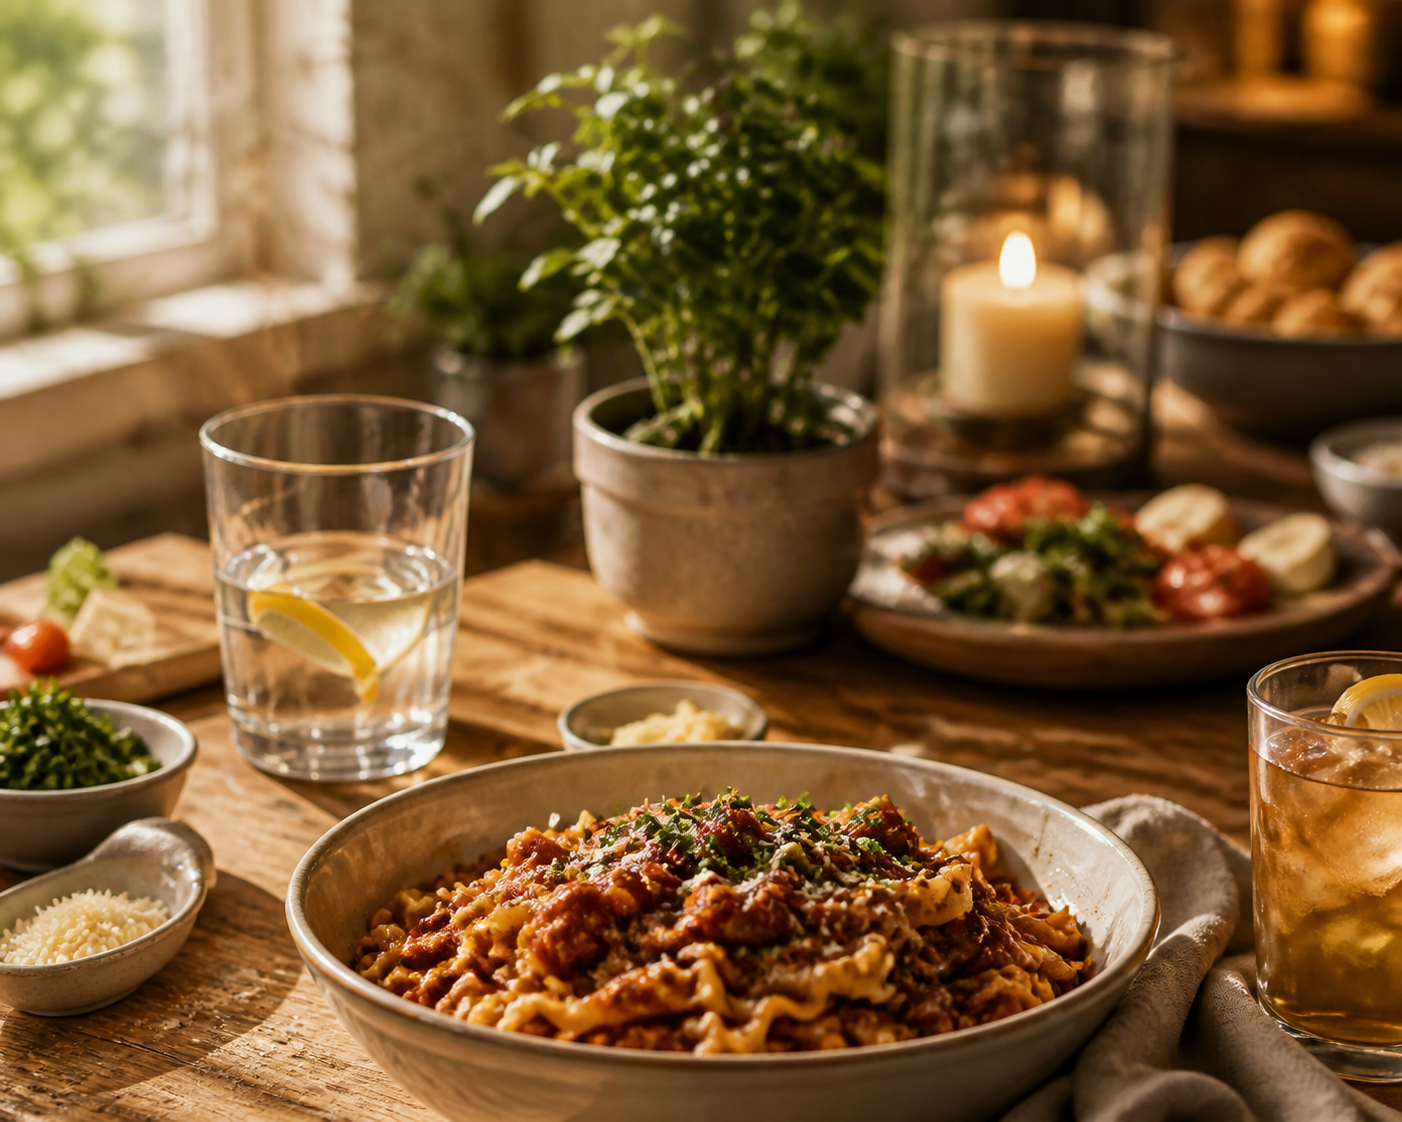
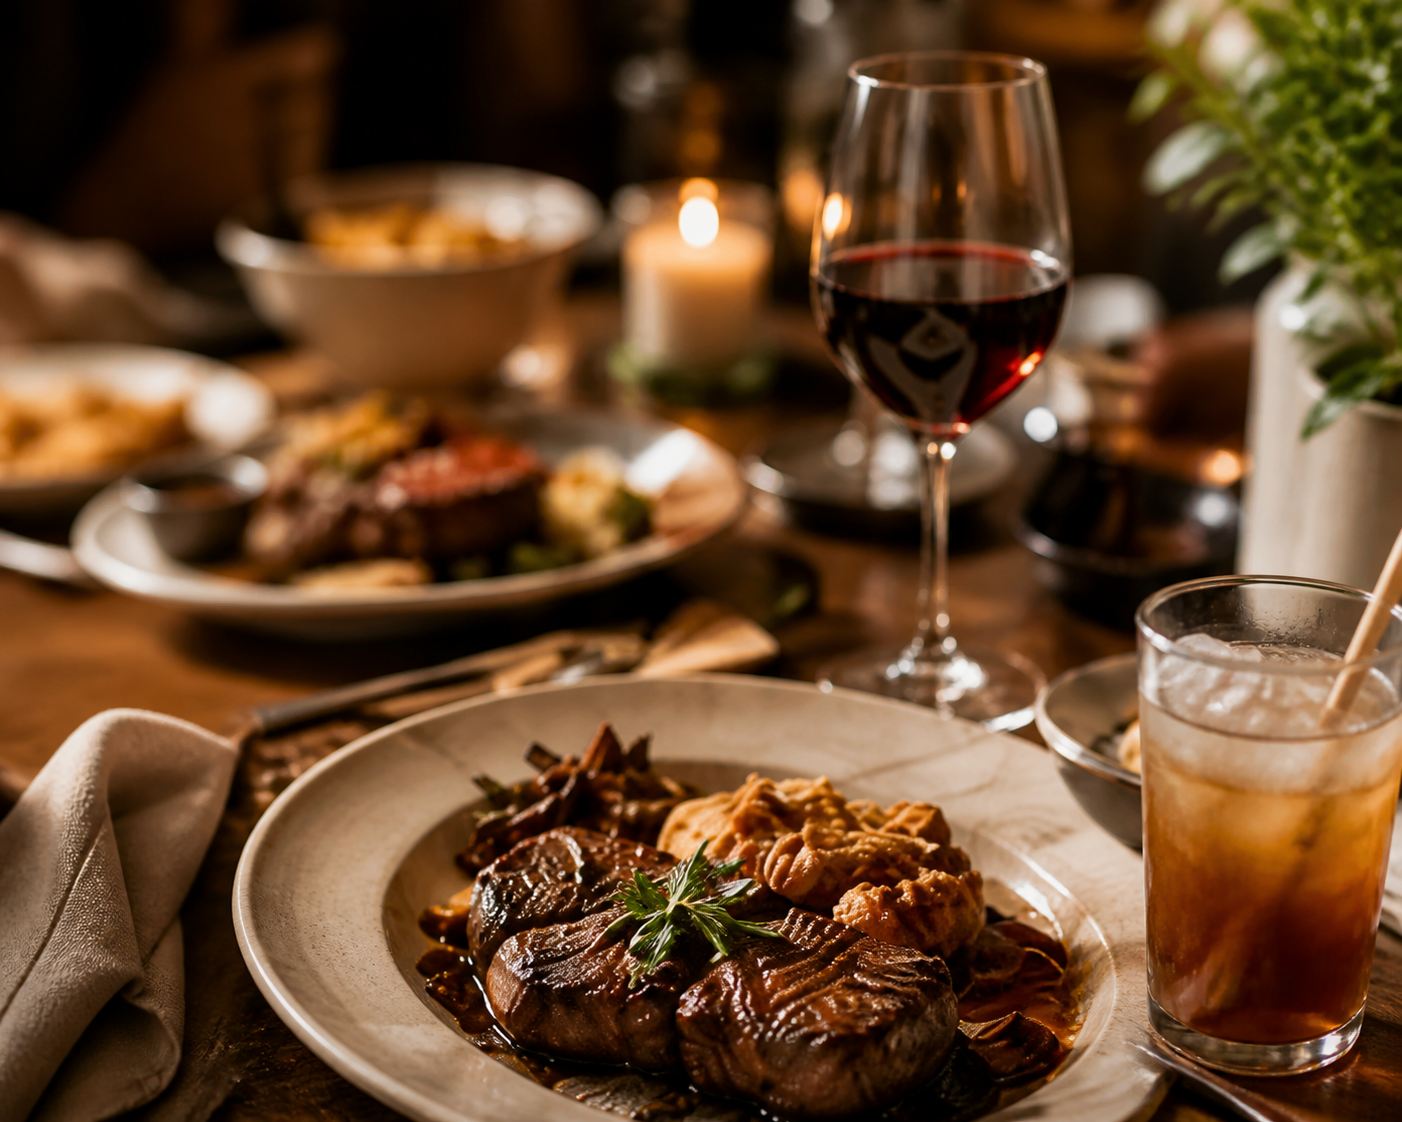
Dish in context. A wooden table, a glass of wine, a candle flickering somewhere in soft focus, a hand reaching for the bread basket. Less about the food, more about the moment the food lives inside. Use these when the message you're selling is "this is dinner with your partner on a slow Thursday," not "click to add to cart."
Ingredients flat lay
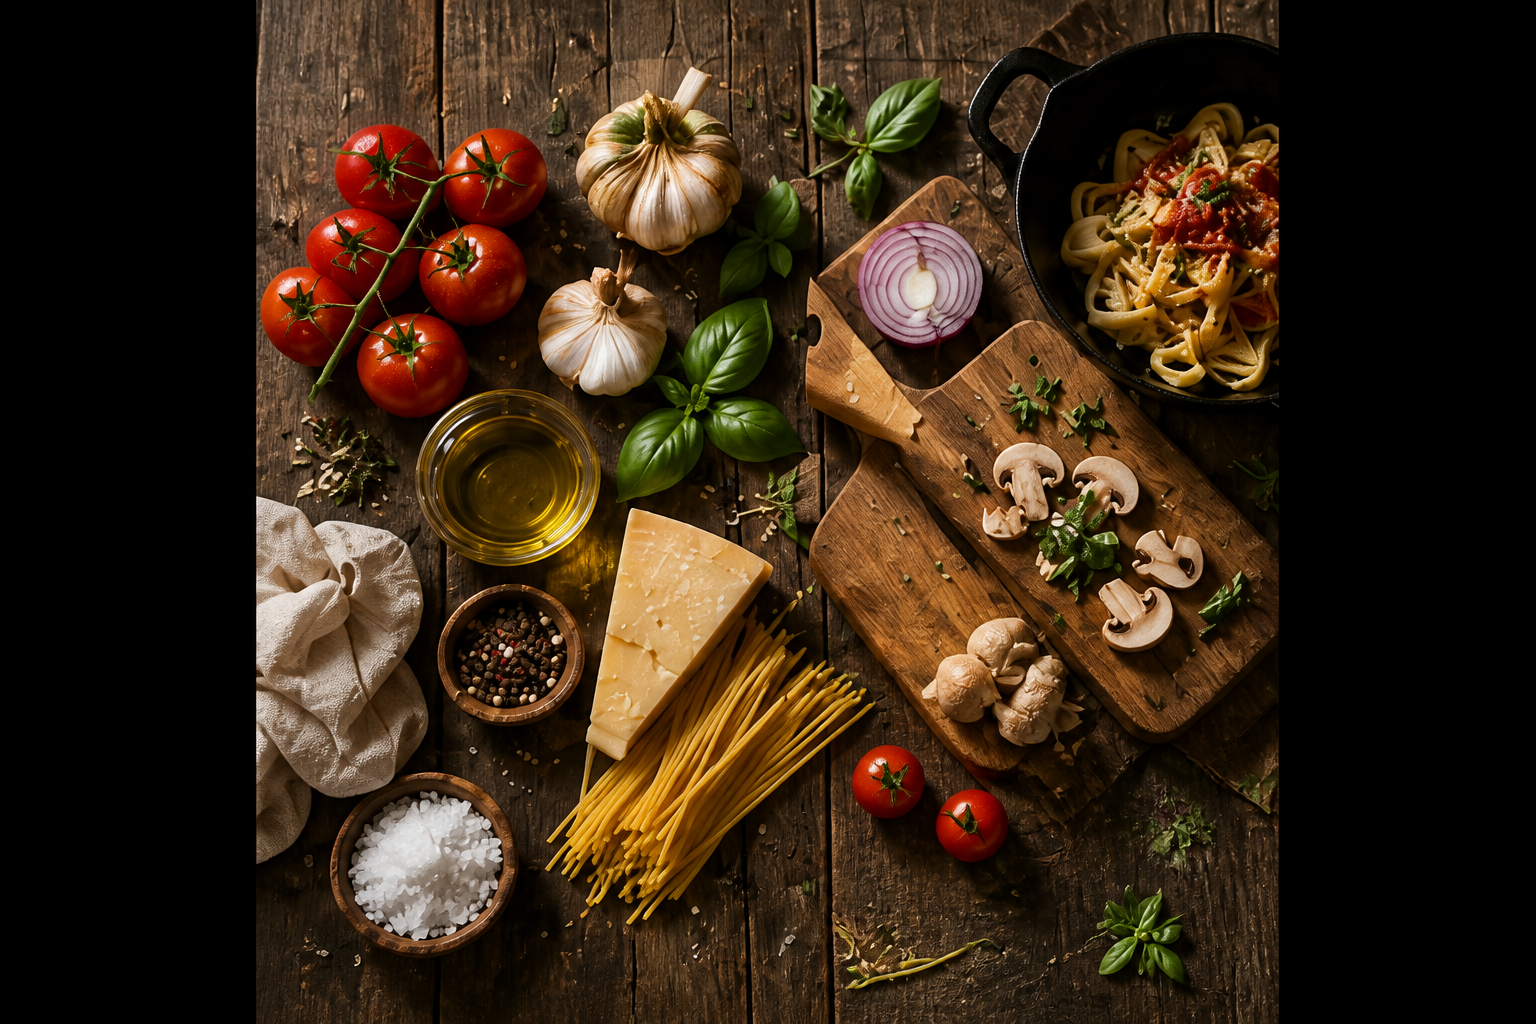
Raw ingredients arranged from above, sometimes with a finished dish tucked into one corner of the frame as the destination. The shot most cookbook spreads open with. Tells the reader what's actually in the dish before they see what it becomes, which, weirdly, makes the finished dish look more appetising than just showing it directly. Food styling used to spend hours getting a single flat lay this clean. AI does it in one prompt.
Process / hands at work
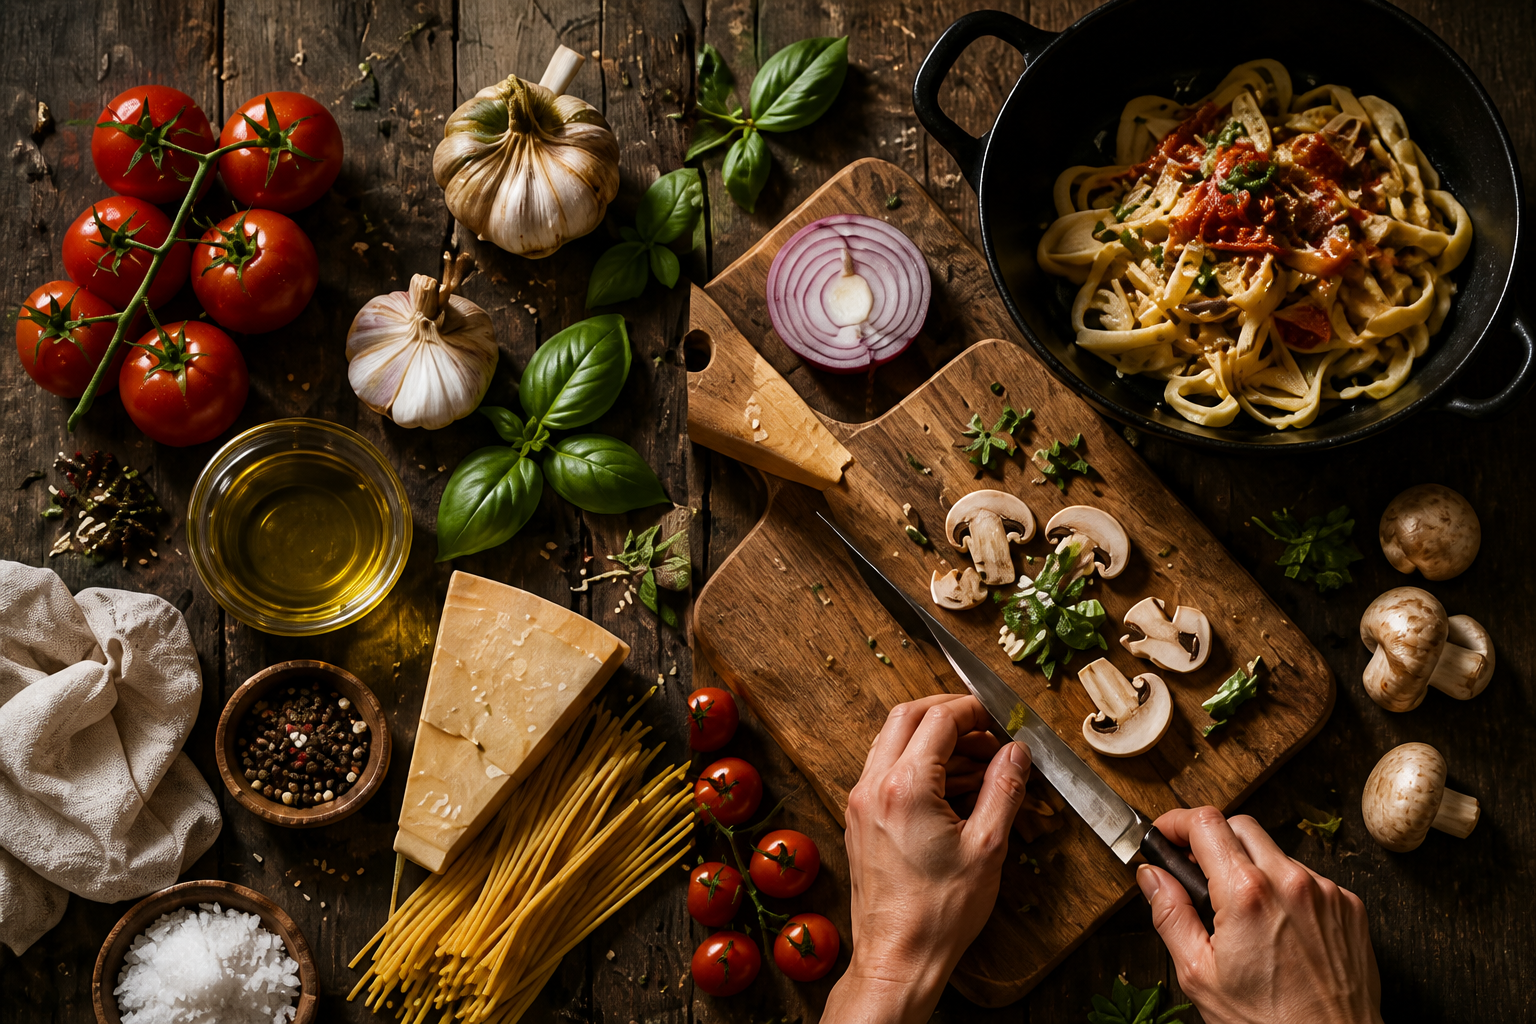
Hands chopping, plating, pouring. The least-faked-looking shot type because it's so clearly about craft, hands are hard to fake convincingly, and that "this person is making this right now" feeling is hard to manufacture any other way. Restaurants put these on their "About us" pages. Cookbooks splash them across chapter intros.
Macro / texture close-up
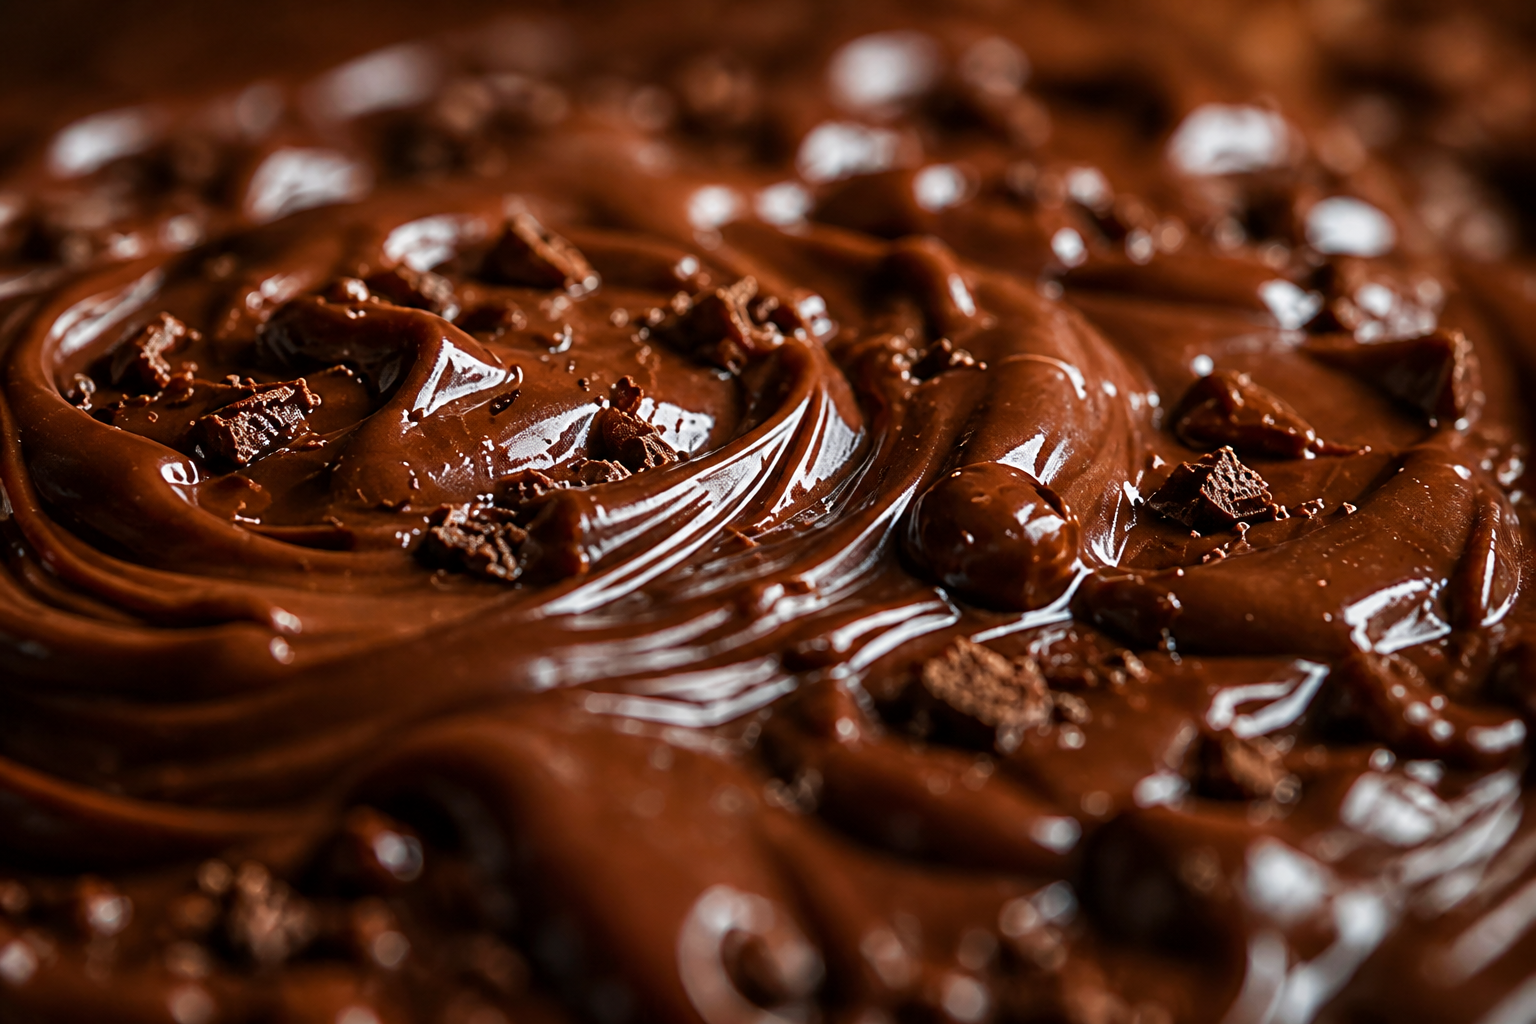
Extreme close-up of one textural detail, melting chocolate, a sauce drip, sear marks on steak, the bubbled crust of pizza. Doesn't really tell you what the dish is but does an excellent job of making you want it. The "craving trigger" shot, in advertising terms.
A complete kit uses all seven, but you don't need all seven on day one. Start with hero + plated + one macro. Add the rest as the menu grows. Every one of them comes out of Gendia's Product Staging template from the same single source photo of your dish.
The actual workflow
Honestly there's not much to it. First time through takes maybe ten minutes because you're figuring out the prompts. After that I usually clock in around four minutes per dish, sometimes less if the source photo is solid.
Step one: get one decent source photo
This is the only part of the workflow that needs you to be physically near food. Plate the dish the way you'd actually plate it for a paying customer. I cannot stress this enough, most of the bad AI food shots I've seen failed at this step. Garnish in the wrong place, a smear of sauce on the rim, the lighting off because someone shot it under fluorescents at 11pm. The AI faithfully amplifies all of it.
Daylight from a north-facing window is the easy mode. The whole dish in frame, no cropping, no motion blur, no bite missing from the steak (yes the AI will keep the bite, and yes it will look weird in the final shot).
The mental model: AI can take a clean source and polish it into a magazine cover, but it cannot invent a dish that wasn't there to begin with. Two minutes of plating discipline at the start beats fifteen minutes of clever prompting after.
Step two: pick the right model for what you're shooting
The four frontier models on Gendia have noticeably different strengths, and picking wrong is the single most common reason people burn through generations without getting what they want. Rough mental map:
- Nano Banana 2 is the speed pick. Cleanest plate edges, fastest generation time. Hero overheads, marketplace tiles, anything you need to render in volume.
- GPT Image 2 is the scene reasoner. Complex lifestyle setups, packaging with readable text, especially Korean (한글), fall under this one. It handles multilingual text at something close to 99% character accuracy, which is the bar Nano Banana 2 and Seedream haven't quite cleared yet.
- Seedream is the editorial pick. Fine-dining, cookbook spreads, premium brand work. If you want the Bon Appétit feel rather than the delivery-app feel, this is the model.
- FLUX Kontext is the editor. Don't use it to generate from scratch, use it when you already have a real food photo and you want to swap just the background or restage the props without disturbing the dish itself.
If you don't want to think about which one to pick, Gendia's Product Staging template routes to the right model for the scene you choose. Open it, pick a scene, upload the source, done.
Step three: paste a prompt and generate
Pick the prompt below that matches your shot type, swap [DISH] for what you're shooting, hit generate. All 12 prompts work across all four models: they were tuned to be portable, not model-specific.
Iterating: the cardinal rule is don't rewrite, refine
First generations are rarely perfect. Beginners' instinct is to throw the prompt away and start over. Wrong move. The right move is to keep the prompt you have and add a one-line correction at the end. The corrections I personally use most:
- "Keep the herb garnish exactly where it is in the source." For when the AI moved a sprig of parsley I'd specifically arranged.
- "Preserve exact plate / bowl shape." When the AI replaced my hand-thrown ceramic with a generic plate.
- "Make the steam more visible." When an action shot reads flat (this is a Seedream-specific quirk).
- "Less negative space on the left, centre the dish." When framing drifted.
Three corrections usually lands the shot. If you're past five, go back and look at the source: the issue isn't the prompt anymore, it's the input photo.
Step four: export and ship it
Download the result. Drop it straight onto your menu PDF, your delivery-app listing, your Instagram feed. Sometimes worth a final pass through FLUX Kontext if the dish edges came out slightly soft, but most of the time you can just use what came out.
12 master prompts for AI food photography
Copy these directly into Gendia. Replace [DISH] with your actual dish (e.g., "spicy rosé pasta with chicken," "tonkatsu curry with rice," "chocolate lava cake with vanilla ice cream").
Overhead / hero shots
Prompt 1: Top-down overhead hero (the menu standard)
Use this for: menu PDFs, Uber Eats / DoorDash / 배달의민족 main images, recipe-blog headers.
Prompt 2: Restaurant-grade plated entrée
Use this for: restaurant homepage hero, fine-dining ads, premium menu covers.
Action / motion shots
Prompt 3: Action pour (syrup / sauce / drizzle)
Use this for: Instagram reels covers, social ads, pancake / dessert / breakfast menus.
Prompt 12: Cheese pull / hot-food action
Use this for: pizza menus, delivery-app hot-food categories, social-ad scroll stoppers.
Ingredients / flat lay
Prompt 4: Ingredients mise-en-place flat lay
Use this for: recipe-blog headers, cookbook spreads, "fresh ingredients" brand messaging, Pinterest pins.
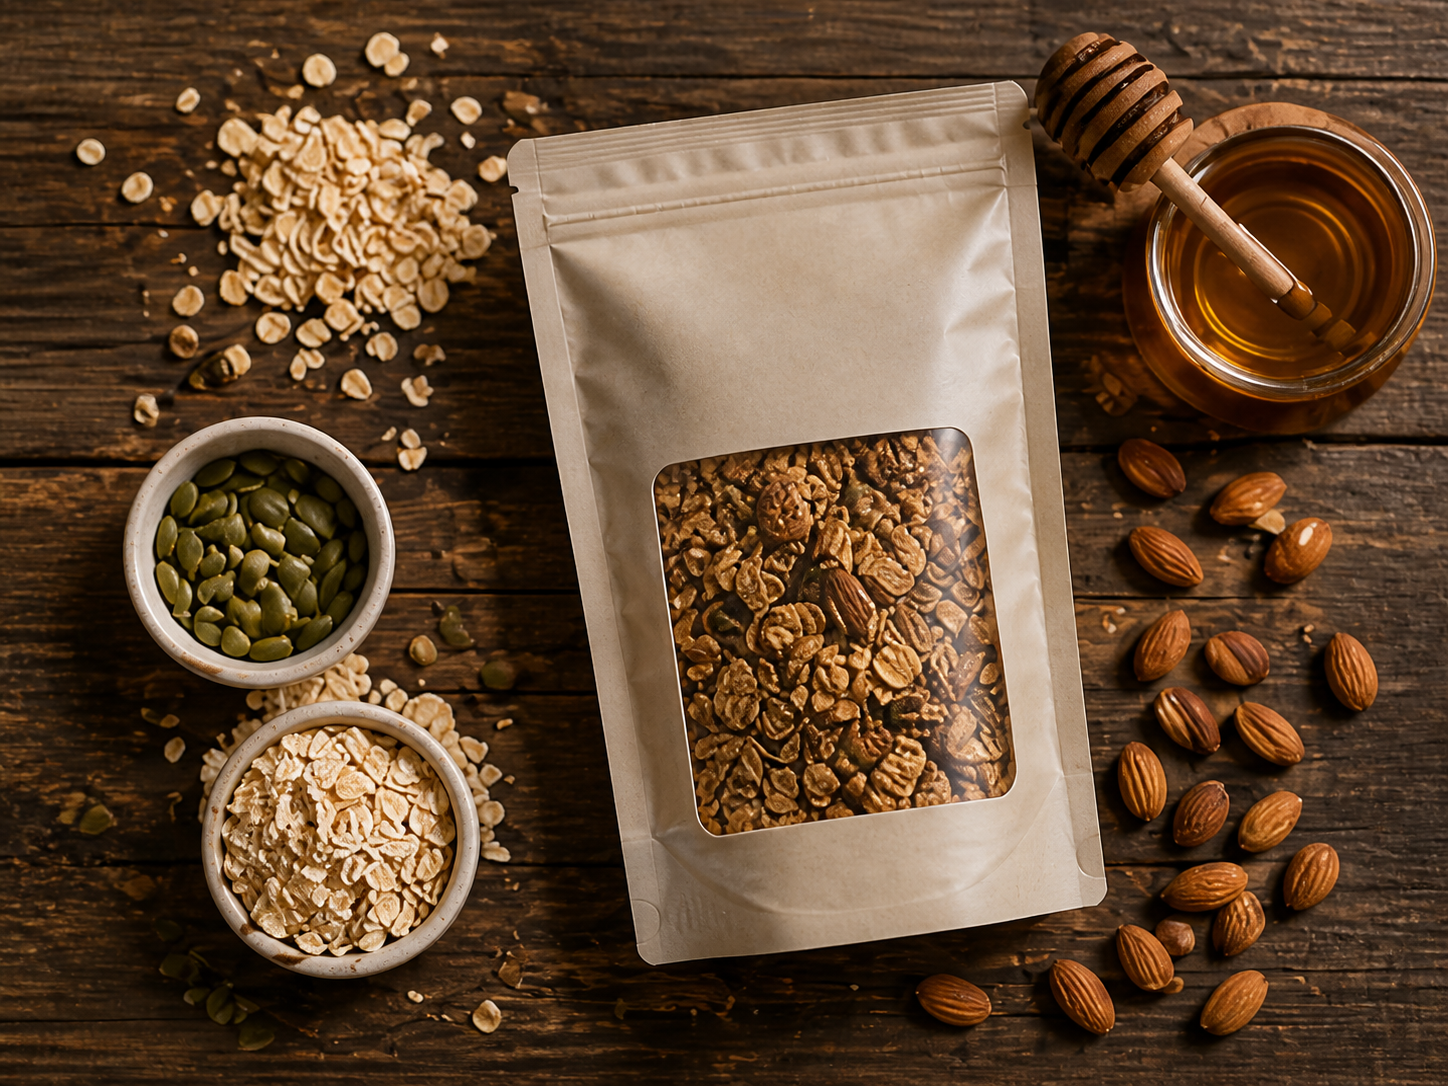
Prompt 10: Packaged food flat lay
Use this for: packaged food brand product pages, Amazon / 쿠팡 listings, Instagram brand grids.
Process / craft
Prompt 5: Hands cooking / process shot
Use this for: "how it's made" website sections, restaurant about-pages, craft-positioning ads.
Lifestyle / table setting
Prompt 6: Cozy home dining table
Use this for: homepage banners, lifestyle ad creatives, recipe-blog "weeknight dinner" headers.
Prompt 7: Moody fine-dining table
Use this for: fine-dining restaurant hero, romantic-dinner ads, premium menu covers.
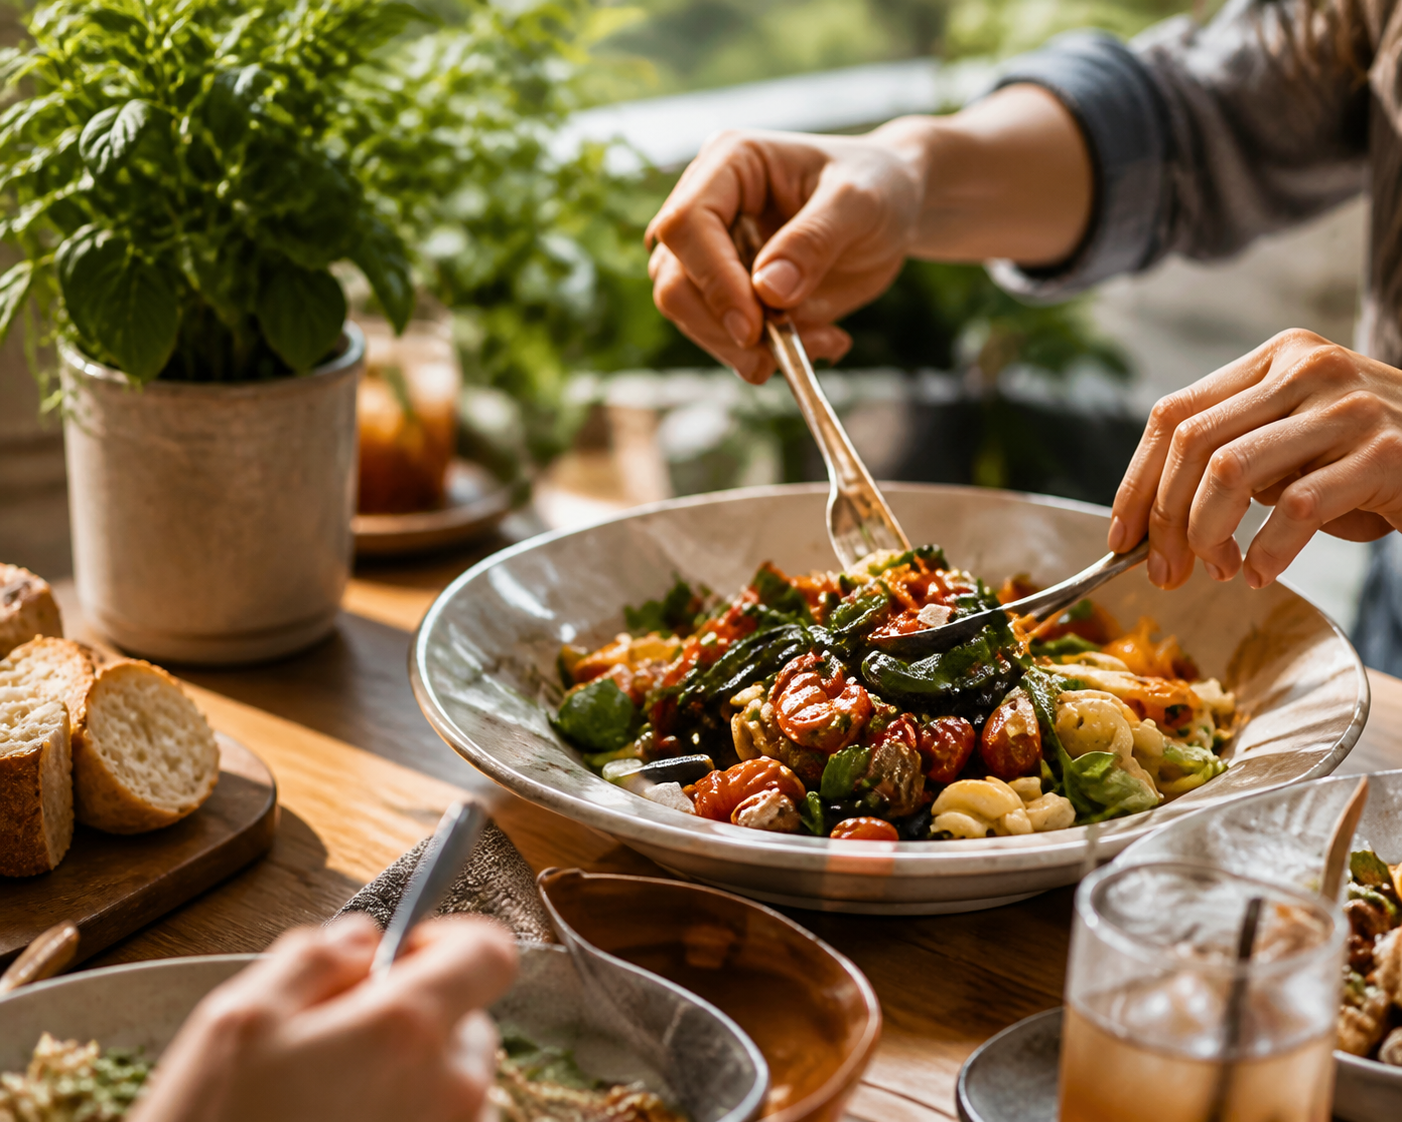
Prompt 8: Social meal in action
Use this for: brand "about us" sections, social-ad creatives, large-format dish promotions, catering brands.
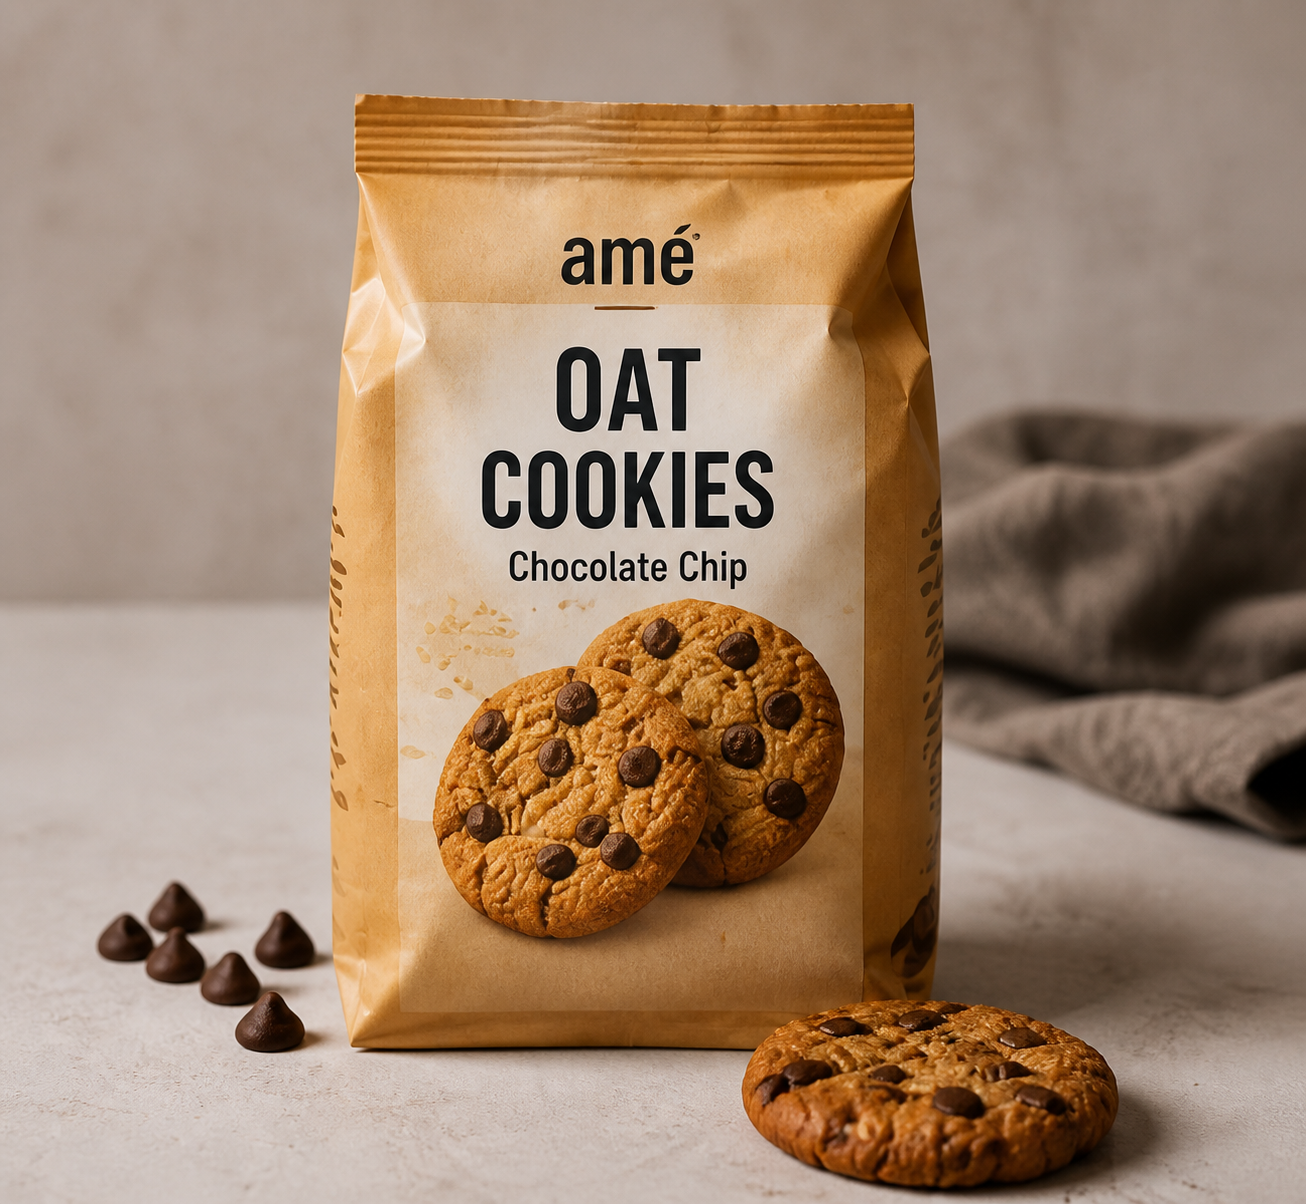
Product packaging
Prompt 9: Product packaging hero
Use this for: packaged food product pages, Amazon / 쿠팡 main images, Instagram product grids.
Macro / texture
Prompt 11: Macro texture close-up
Use this for: dessert menus, beverage menus, premium-positioning imagery, food ads that need to communicate craving.
Generate any of these shots with Gendia's Product Staging template →
Picking the right model: a longer explanation
The four models on Gendia have genuinely different personalities. Picking one and forcing it through every shot type is the most common reason we see good source photos turn into mediocre output.
Nano Banana 2 is the model we reach for when speed matters and the shot is simple. Hero overhead, white-bowl plating, delivery-app tiles. The plate edges come out sharper than anything else on the market and the color reproduction is honest, food doesn't get oversaturated into that "AI bakery" look. The speed is the secret weapon, though: at ten variations in the time most models take for three, you can blow through a 30-item menu in an afternoon. Use it for Uber Eats, DoorDash, 쿠팡이츠, 배달의민족 menu images and PDF spreads.
GPT Image 2 is the scene reasoner. It's the only one of the four that actually understands "window light from the upper left", meaning warm tones, soft shadows falling to the right, color temperature that matches morning rather than midday. For lifestyle scenes with multiple props or any packaging with text, this is the one. Worth flagging: the text-on-labels accuracy is genuinely 99% across English, Korean (한글), Japanese, and Chinese: we have a much deeper write-up of how it does that in GPT Image 2: Everything You Need to Know.
Seedream sits at the magazine end. Bon Appétit, Saveur, Lucky Peach: that's the reference space. Use it for fine-dining covers, cookbook spreads, brand campaigns where the aesthetic budget is real.
FLUX Kontext is for editing rather than generating from scratch. If you already have a real food photo and want to swap the background from white to wood, change the plate, or seasonally re-prop without disturbing the dish, this is the model. It preserves dish geometry better than anything else when you don't want it touched.
The way we actually use all four: hero overhead in Nano Banana, lifestyle scene in GPT Image 2, then a final cleanup pass through FLUX Kontext if the dish edges look soft. Three models, three jobs, the full menu shoot done in under fifteen minutes. Product Staging does the model picking for you if you don't want to think about it.
A few more cost-comparison details, if you want them
I covered the basics in the table near the top, but for people who want the full picture (or need to justify the switch to a co-founder), here are the other axes that matter:
- Expertise. Stylist shoot needs a stylist, photographer, and usually an assistant. AI needs you to know how to write a prompt, which mostly means copying one of the 12 below.
- Equipment. Studio lighting, camera body, lenses, tripods, props vs a web browser.
- Food waste. A stylist shoot uses three to five plates per shot to get the hero. AI uses your one source photo.
- Where each one still wins. AI handles probably 85% of restaurant/food-brand photo needs now, menus, delivery apps, ads, social, recipe blogs. The 15% it doesn't replace is cookbook covers, James-Beard-finalist restaurant campaigns, specific celebrity-chef shoots. If you're not those, you're in the 85%.
Whether the trade matters depends on what kind of operation you run. For a small Korean BBQ spot, a delivery-app sub-brand, or someone selling cookies on Etsy / 쿠팡 / Tmall, the trade is overwhelmingly in favor of AI. For a Michelin restaurant doing a Vogue spread, probably not.
Are AI food shots actually allowed on delivery apps?
Worth covering before you spend time on a shoot. The short version: yes, on every major delivery and marketplace platform, with one important caveat that has nothing to do with the AI part.
Uber Eats, DoorDash, Grubhub, 쿠팡이츠, 배달의민족, and Foodpanda all permit AI-generated food imagery. None of them require disclosure that an image was AI-generated as long as the same truth-in-advertising rules that apply to regular food photos still apply here. The FTC's truth-in-advertising guidelines are the standard reference: your image has to accurately represent what the customer actually gets when they order.
What that translates to in practice:
- Generating a clean overhead shot from a phone photo of your real dish, fine.
- Placing that dish on a styled wooden table for lifestyle context, fine.
- Adding the garnish you actually serve, even if your line cook forgot the sprig in the source photo, fine.
- Showing twelve shrimp when the dish ships with six: not fine.
- Adding ingredients (a "bonus" lobster tail) the customer doesn't get: not fine.
- Generating a photo of a dish you don't even sell, obviously not fine.
The line is simple: AI is the tool, the menu is the contract. Style up the dishes you actually serve, don't invent dishes you don't.
The mistakes we see most often
Watching enough people use these tools, the same five or six failure modes show up over and over. None of them are subtle.
The biggest one is bad source photos. AI can polish a clean shot into a stunning one, but it cannot invent a dish that wasn't on the plate. A blurry, dark, half-eaten source produces a blurry, dark, half-eaten output (just with better props around it). Two minutes of plating discipline before the source photo solves this entirely.
A close second: vague prompting. "Cool food shot" gives you a generic stock-photo feeling output. Every prompt in the library above specifies surface, lighting direction, props, mood, and plate type: that specificity is what produces consistent results across a 30-item menu. The prompts are scaffolds, fill them in.
Distorted labels on packaging trip up a lot of brands. AI image models still warp brand text in unpredictable ways. The fix is two-part: write "keep label text sharp and unchanged" into the prompt, and use GPT Image 2 specifically for anything where readable text matters. If a label still looks off after that, run the output through FLUX Kontext to fix the text without disturbing the rest.
Wrong model for the job is the most expensive mistake because it eats generations and time. Seedream applied to a delivery-app tile adds editorial moodiness the platform doesn't want; Nano Banana 2 applied to a complex lifestyle scene with packaging text leaves the labels unreadable. The model-to-shot mapping above isn't optional. Or use Product Staging and skip the routing question entirely.
Two smaller ones: generating one shot and stopping, and inconsistency across the menu. The first wastes the model's variation power, generations are non-deterministic, so the fifth try frequently beats the first. The second compounds quickly: if every dish on your menu PDF has slightly different lighting and angle, the whole thing reads as amateur even when each individual shot is good. Lock the prompt once, then only swap the dish description.
Frequently asked questions
Can I use AI-generated food photos on Uber Eats, DoorDash, or 배달의민족?
You can. Every major delivery app permits AI-generated food imagery; what they don't permit is misleading imagery, regardless of how it was made. As long as the photo accurately represents the portion, the ingredients, and the presentation a customer actually receives, you're inside the rules. Generating shots from a real source photo of your actual dish keeps you well clear of that line.
Do I need a stylist or an expensive camera?
No. A phone photo in good daylight is all the source material the models need. Most of the food photos in the workflow we use ourselves started on an iPhone.
Which AI model is best for food photography in 2026?
That depends on the shot, and it's worth being specific about which one. Nano Banana 2 is best for clean hero overheads and delivery-app menu tiles. GPT Image 2 is best for lifestyle scenes and any product with text on the packaging. Seedream is best for fine-dining and magazine-style covers. FLUX Kontext is best for editing existing shots without disturbing the dish. Gendia's Product Staging template gives you access to all four so you can pick per shot.
Why do packaged food labels come out distorted, and how do I fix it?
Image models still warp brand text in unpredictable ways: it's one of the genuinely hard problems in generative image work. Two things help: add "keep label text sharp and unchanged" to your prompt, and use GPT Image 2 specifically for anything text-heavy (it handles ~99% character accuracy across English, Korean, Japanese, and Chinese). If a label still looks off, a final pass through FLUX Kontext usually fixes it without touching the rest of the image.
Can I keep the visual style consistent across a 30-item menu?
Yes, and this is actually where AI beats a stylist shoot. Once you've nailed a prompt, same surface, same lighting description, same plate style, save it and reuse it across every dish, swapping only the dish description. The whole menu ends up visually coherent in a way that real photo shoots rarely achieve unless the same photographer shoots the entire menu in one go.
Are AI food shots good enough for paid ads?
Frequently better, actually, because the variation cost goes to zero. You can generate fifty variants of the same hero shot and A/B test which converts. Restaurant brands running Meta and TikTok ads in 2026 increasingly use AI specifically for the testing volume.
How long does one shot take?
One to three minutes per generation, depending on the model and how complex the scene is. A full seven-shot menu set (overhead, plated, action, lifestyle, ingredients, process, macro) usually lands in 15-30 minutes including iteration time.
What's the actual cost difference vs a stylist shoot?
A traditional stylist session runs $400 – 2,000. A Gendia subscription is $0 – 30 per month with unlimited generations. For equivalent menu, delivery-app, and social-quality output, that's a 95-99% cost reduction.
TL;DR
Three things to keep in mind, in roughly the order they matter:
- Plate the dish once, properly. The source photo is the limit; nothing downstream fixes a bad source.
- Use the right model for the shot. Nano Banana 2 for hero overheads, GPT Image 2 for lifestyle and labels, Seedream for fine-dining, FLUX Kontext for editing.
- Be specific in the prompt. Surface, lighting, props, mood, plate type. Vague prompts produce vague results.
Stylist-grade food photography stopped being a $2,000 line item this year. The cameras are optional, the studios are optional, and the only meaningful gate left is whether you spend the ten minutes to try it.
Make your first AI food shot free with Gendia's Product Staging template →
Related reading
- How to Make Product Shots with AI: The Complete 2026 Guide, sibling guide for packaged-product photography (cosmetics, electronics, accessories). Same workflow, different shot library.
- GPT Image 2: Everything You Need to Know: the model behind most of the lifestyle and label-heavy food shots in the workflow above.
- The Best AI Tools for Image Editing in 2026, picks the right frontier model for every use case, with deep dives on Nano Banana Pro, Seedream, FLUX Kontext, and Imagen 4.
- Free AI Photo Tools 2026: The Complete Guide to Gendia's Browser Suite, seven free in-browser tools for the everyday cleanup work (background removal, upscale, restoration) that bookends a menu shoot.
- #AIFoodPhotography
- #AIFoodPhotos
- #HowToMakeFoodPhotosWithAI
- #AIFoodPhotographyTutorial
- #FoodPhotographyPrompts
- #MenuPhotographyAI
- #RestaurantFoodPhotographyAI
- #ProductStagingGendia
- #GPTImage2FoodPhotos
- #NanoBanana2FoodPhotography
- #SeedreamFoodPhotos
- #FlatLayFoodAI
- #OverheadFoodShotAI
- #CheesePullAI
- #FoodPackagingPhotoAI
- #AICookbookPhotos
- #UberEatsFoodPhoto
- #DoorDashMenuPhotos
- #DeliveryAppFoodPhotography
- #InstagramFoodPhotographyAI