Restoring an Old Photo: 20 Credits, No Skill Required
Gendia's photo restoration repairs faded, torn and damaged photographs in one pass. What it fixes, how to scan a print so the result is good, and the one thing to check before you show it to family.
This is the one I'd hand to someone who has never touched an AI tool. There's nothing to learn, the before-and-after is genuinely startling, and it costs 20 credits.
You give it a faded, scratched, creased old photograph. It gives you back a repaired one.
What it fixes
All in one pass, without you selecting anything:
- Fading and flat contrast: the grey wash decades put on a print
- Colour shift: the orange or magenta cast old film develops
- Scratches, dust and speckling
- Creases and small tears
- General softness from an old print or an imperfect scan
There's no mode to choose and no damage to mark. You upload it and it deals with what it finds.
Get the scan right and everything improves
The tool can only work with what you hand it, and this is where most disappointing results actually come from.
Lay the print flat. A curled photo shot at an angle gives distorted geometry that the tool then faithfully preserves.
Even light, no glare. A window across the room beats a ceiling light directly overhead. Glare on a glossy print destroys the detail underneath, and nothing recovers it afterwards.
Shoot straight down, filling the frame with the photo.
A phone is completely fine. This is about flatness and lighting, not megapixels. A sharp, evenly lit phone photo of the print is all you need.
If it's still in a frame behind glass, take it out. The reflections cost you far more than the two minutes of effort.
The honest limit: it reconstructs
Restoration doesn't recover lost information: it generates plausible replacements for it. For damage, dust and fading, that's precisely what you want.
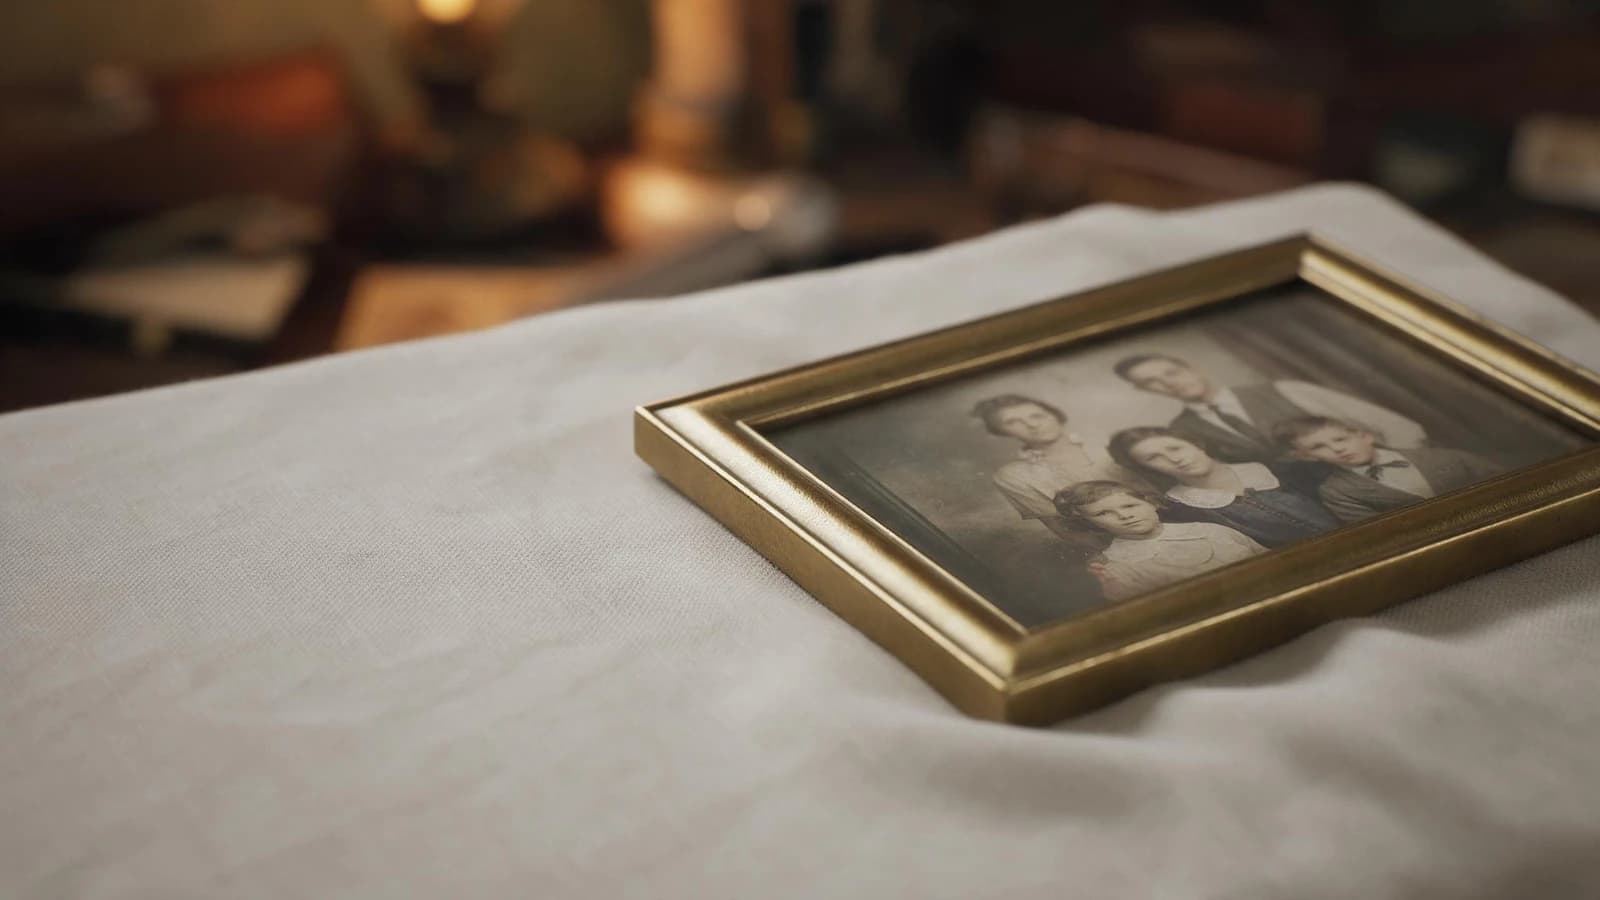
For faces of people you know, be careful. Where a face is badly degraded, the tool rebuilds features from what it expects a face to look like. You get a clear, sharp portrait that may be subtly not quite the person your family remembers.
So keep the original and put them side by side. On a lightly faded photo you'll see a faithful repair. On a badly damaged one, check that the person still looks like themselves before you print it for someone who loved them.
That's not a reason to avoid the tool. It's a reason to look.
Chaining it with the others
Restoration first, then everything else:
- Restore, then enhance if you want to print it large. Restore repairs, enhance enlarges, in that order.
- Restore, then object remover if there's a stain or a strip of tape the restoration didn't catch.
Never enhance first. You'd be paying to upscale the damage before repairing it.
Try it
Find the oldest photo in the house, photograph it flat in daylight, and spend 20 credits.
Open photo restoration. More in the photo tools.
- #RestoreOldPhoto
- #AIPhotoRestoration
- #FixDamagedPhoto
- #RepairTornPhotograph
- #FamilyPhotoRestoration
- #OldPictureRepairAI
- #FadedPhotoFix
- #AIPhotoTools
- #ScanAndRestorePhotos
- #Gendia