Upscaling a Photo Properly: When 2× Is Enough and 4× Is a Waste of 139 Credits
Gendia's photo enhancer adds real detail rather than just enlarging pixels. Here's what it does, why 4× costs four times 2×, and how to decide which you actually need.
I paid 185 credits to upscale an image 4×, then exported it at half that size for a web page. That was 139 credits I set on fire for no reason at all, and it's the mistake this guide exists to stop you making.
If you've searched "upscale photo without losing quality" or "increase image resolution AI", here's how it actually works.

What it actually does
This isn't resizing. Stretching an image in any editor gives you the same detail spread over more pixels, softer, not better.
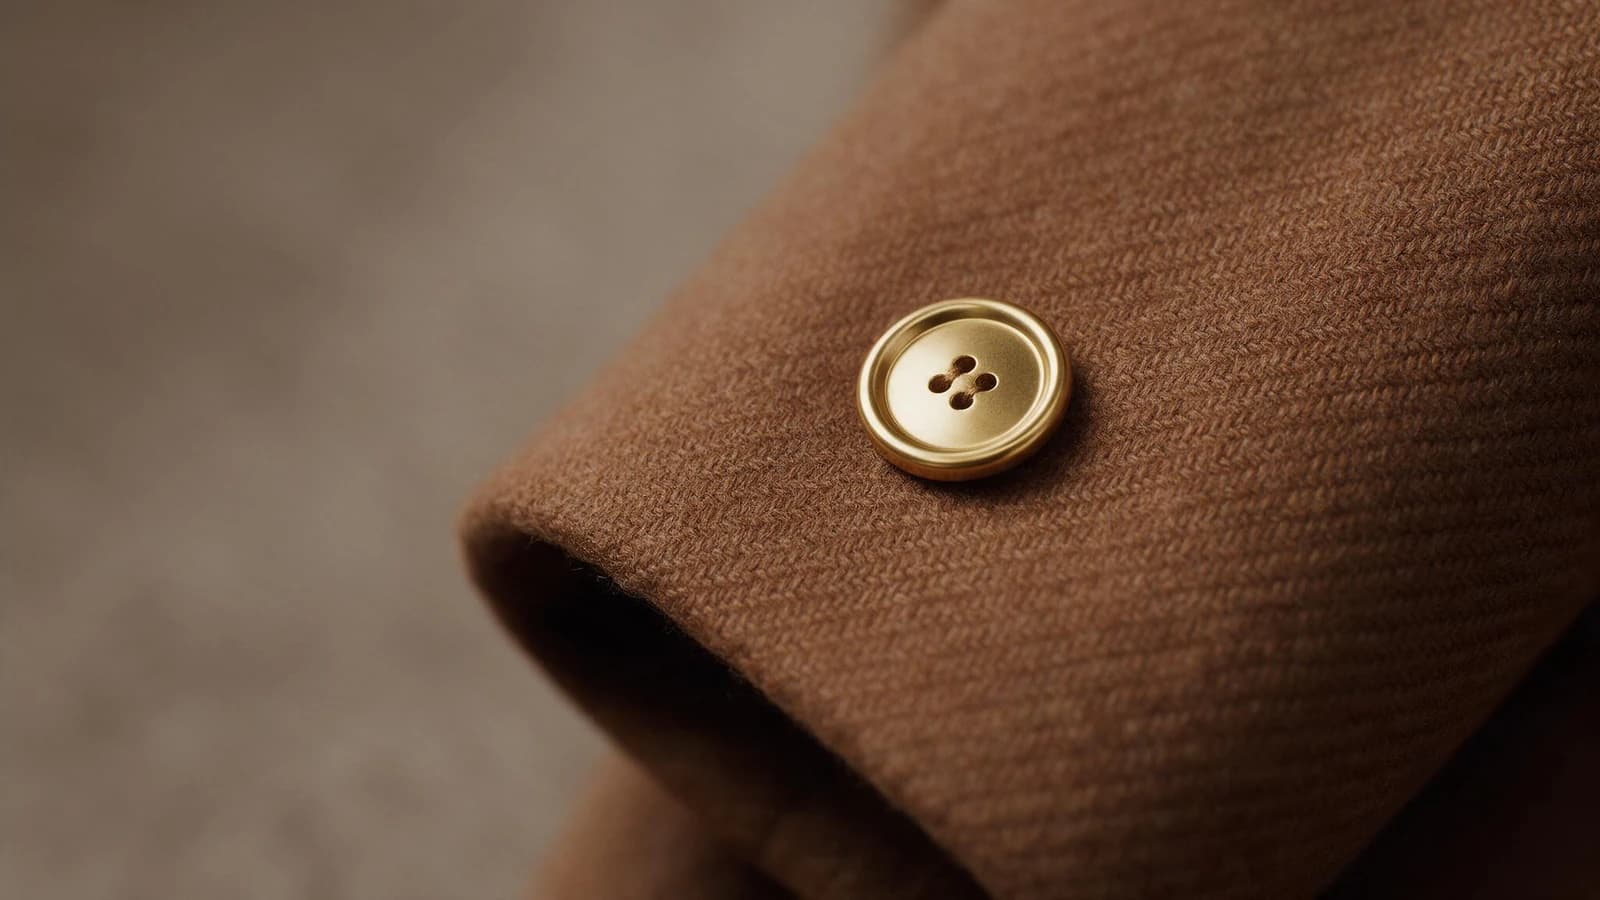
The enhancer generates plausible detail that wasn't in the file: fabric weave, individual hairs, the grain of a surface. It runs on Topaz, and the difference on a small or slightly soft source is genuinely striking.
That also means it invents. On a very low-quality source it will confidently produce detail that was never there. Usually that's what you want. Occasionally it gives someone the wrong eyelashes.
The price, and why it's shaped like that
| Factor | Credits |
|---|---|
| 2× | 46 |
| 4× | 185 |
4× costs four times 2×, and that isn't a markup. Billing is on output megapixels, and doubling each dimension gives four times the pixels. A 4× render is genuinely four times the work.
So the question is never "which is better". It's what size do I actually need?
- Web page, social post, email: a 2× of a normal photo is already more than enough
- Print, a large banner, or heavy cropping afterwards: that's what 4× is for
If you can't name the final output size, you want 2×.
Where it belongs in your workflow
At the end. Always at the end.
If you upscale first and then remove a background, change the background, or retouch, you paid to generate detail and then threw it away, and every subsequent tool works on a larger file for no benefit.
The right order:
- Generate or shoot
- Edit, background, objects, retouch
- Then enhance, once
- Export
What benefits most
- Small originals. A 600px product photo becomes usable.
- Slightly soft phone shots. Sharpening that isn't just contrast.
- Older AI generations made before you had access to better models.
- Anything going to print, where a screen-sized file falls apart.
What to skip
- Images already large and sharp. There's nothing to recover; you'll pay 46 credits for a bigger file.
- Heavy motion blur. The enhancer sharpens what's there: a blurred subject stays blurred, just larger.
- Anything you're about to crop hard. Crop first, then enhance what remains.
Check the result before you use it
Open at 100% and look at three things:
- Faces, especially eyes and teeth: the classic place invented detail looks wrong
- Hair, where strands can turn into strange smooth ribbons
- Any text in the image, which upscalers often turn into convincing nonsense
Nine times in ten it's clean. The tenth is worth the ten seconds of checking.
In perspective
At 46 credits, a 2× enhance costs about the same as two Nano Banana images. If it rescues a photo you already have, that's excellent value. If you're using it out of habit on files that are already big enough, it's the most expensive habit in the tools tab.
Open the photo enhancer and try 2× on the smallest usable photo you own: that's where the difference is most obvious.
More in the photo tools and what everything costs.
- #AIPhotoEnhancer
- #ImageUpscaler
- #UpscalePhotoWithoutLosingQuality
- #IncreaseImageResolutionAI
- #PhotoQualityImproveAI
- #4xUpscale
- #ProductPhotoResolution
- #AIPhotoTools
- #EnhanceImageQuality
- #Gendia