Changing a Background by Describing It: 20 Credits, No Compositing
Gendia's background change replaces what's behind your subject with a scene you describe, matching the lighting. When to use it instead of the background remover, and how to write the description.
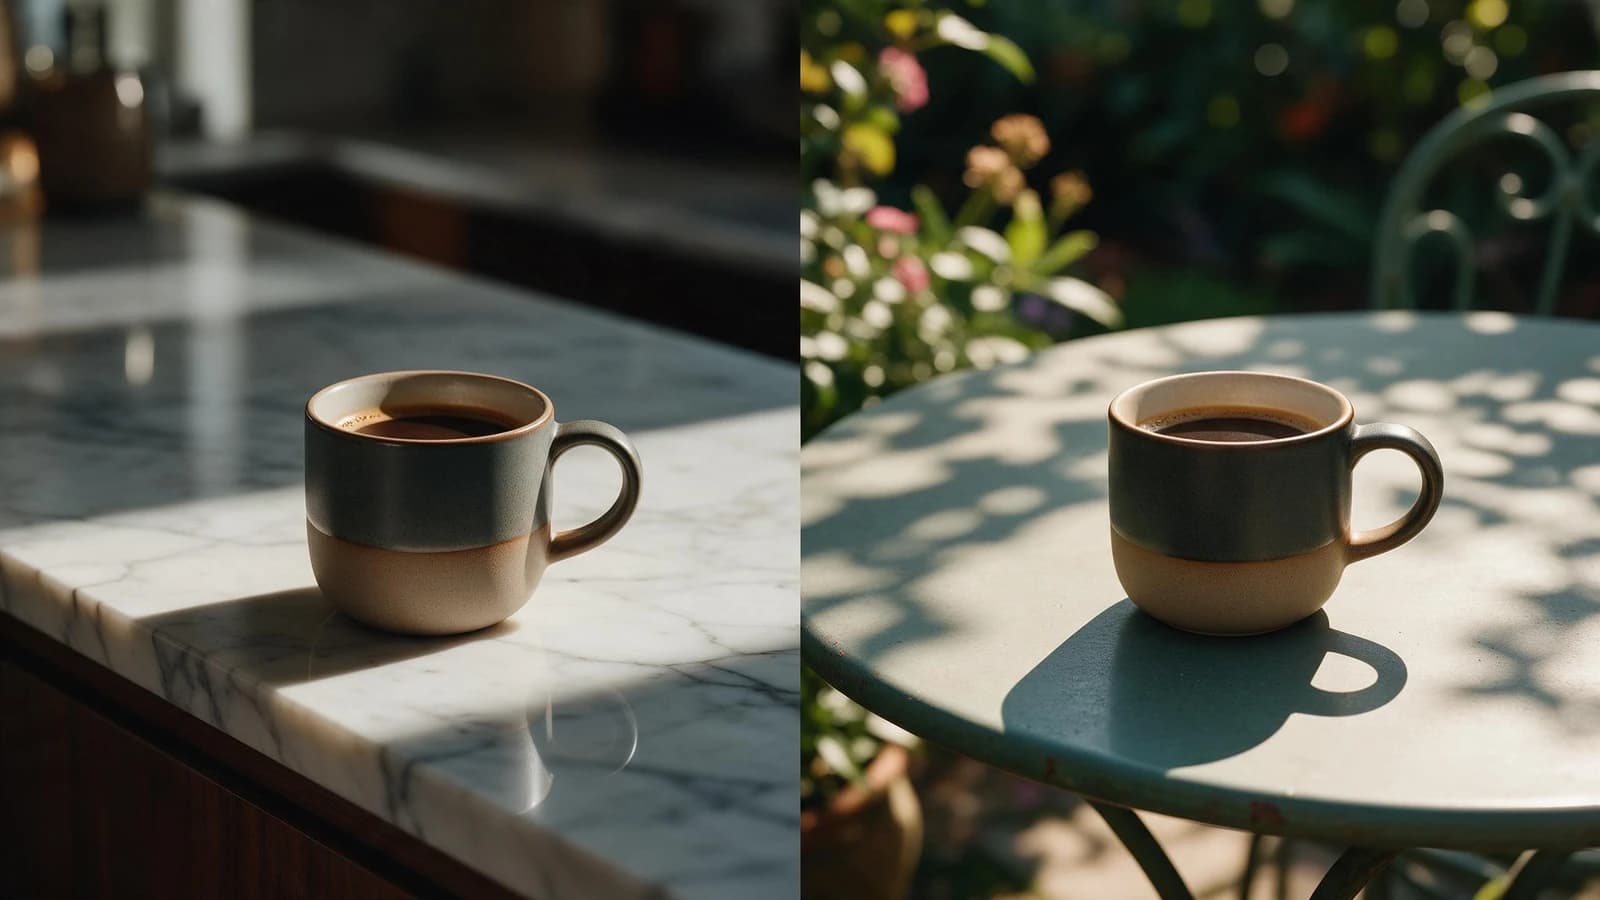
You photographed a product on your kitchen table. You want it on marble, in soft daylight, looking like a studio shot.
That's this tool. Twenty credits, and you describe the scene rather than compositing anything.
How it differs from the background remover
People mix these up constantly, and picking the wrong one wastes credits.
Background remover (10 credits) cuts your subject out and gives you a transparent PNG. You get nothing behind it. Use it when the background will be a design element: a coloured layout, a poster, a web page.
Background change (20 credits) replaces the background with a described scene, and: this is the important part, it adapts the lighting so the subject doesn't look pasted on.
If you want your product in a place, use background change. If you want your product on nothing, use the remover.
Describing a background well
This is where results are won or lost. Most disappointing outputs come from a description that names a place but says nothing about light.
Weak: "marble background"
Better: "on a pale marble surface, soft daylight from the left, gentle shadow to the right, clean and minimal"
Cover three things:
- The surface the subject sits on
- The setting behind it, and how far away
- The light, direction, softness, warmth
That third one does most of the work. The tool has to relight your subject to match the scene it invents, and telling it where the light comes from is what stops the result looking composited.
Match it to the photo you actually have, too. If your product was shot under hard overhead light, asking for soft window light from the left means fighting the source image. Describe something close to what's already there and the result holds together far better.
What holds up well
- Products on a plain surface. The classic case, and it works beautifully.
- Subjects with clear outlines. Bottles, boxes, shoes, packaged goods.
- Simple target scenes. A surface and a soft backdrop beats a detailed room.
What struggles
- Fine hair and fur against a busy new background: the same boundary that troubles any cutout.
- Transparent and reflective objects. Glass shows the old background through it, and reflections in chrome still show the room you shot in.
- Very complex requested scenes. The more detail you ask for behind the subject, the more chances for something to look wrong.
The two-step chain for product photos
For anything commercial, this is the sequence I use, 30 credits total:
Step 1, Background remover (10). Cut the product out cleanly on transparency.
Step 2, Background change (20). Describe the scene you want.
Doing the removal first gives a cleaner subject boundary going into the second step, and you keep the transparent PNG for layouts. Thirty credits, from kitchen table to something that looks shot in a studio, against 125 for a single Nano Banana Pro render that would give you a different product rather than yours.
Check two things before you use it
The edge. Look closely where the subject meets the new background, particularly around hair and thin details.
The light. Does the shadow under the product agree with where you said the light was? A subject lit from the right sitting in a scene lit from the left is the thing viewers notice without knowing why.
Try it
Open AI background change with a product photo and describe a simple scene: a pale surface, soft daylight from one side. Simple descriptions succeed far more often than elaborate ones.
More in the photo tools.
- #ChangeBackgroundAI
- #AIBackgroundReplace
- #ProductPhotoBackground
- #StudioBackgroundAI
- #PhotoBackgroundEditor
- #ReplaceBackgroundOnline
- #AIProductPhotography
- #AIPhotoTools
- #E-commercePhotoBackground
- #Gendia