Removing a Background Properly: 10 Credits, One Click, Real Transparency
How Gendia's background remover works, why a transparent PNG beats a white rectangle, where the tool struggles, hair, glass, motion blur, and what to do about it.
This is the cheapest thing on Gendia, 10 credits, and it's the one I use most, which is a slightly embarrassing thing to admit about a platform full of frontier video models.
If you've searched "remove background from image" or "누끼 따기", this is the tool. But there's a bit more to getting a clean result than dropping a file in, so here's what actually matters.


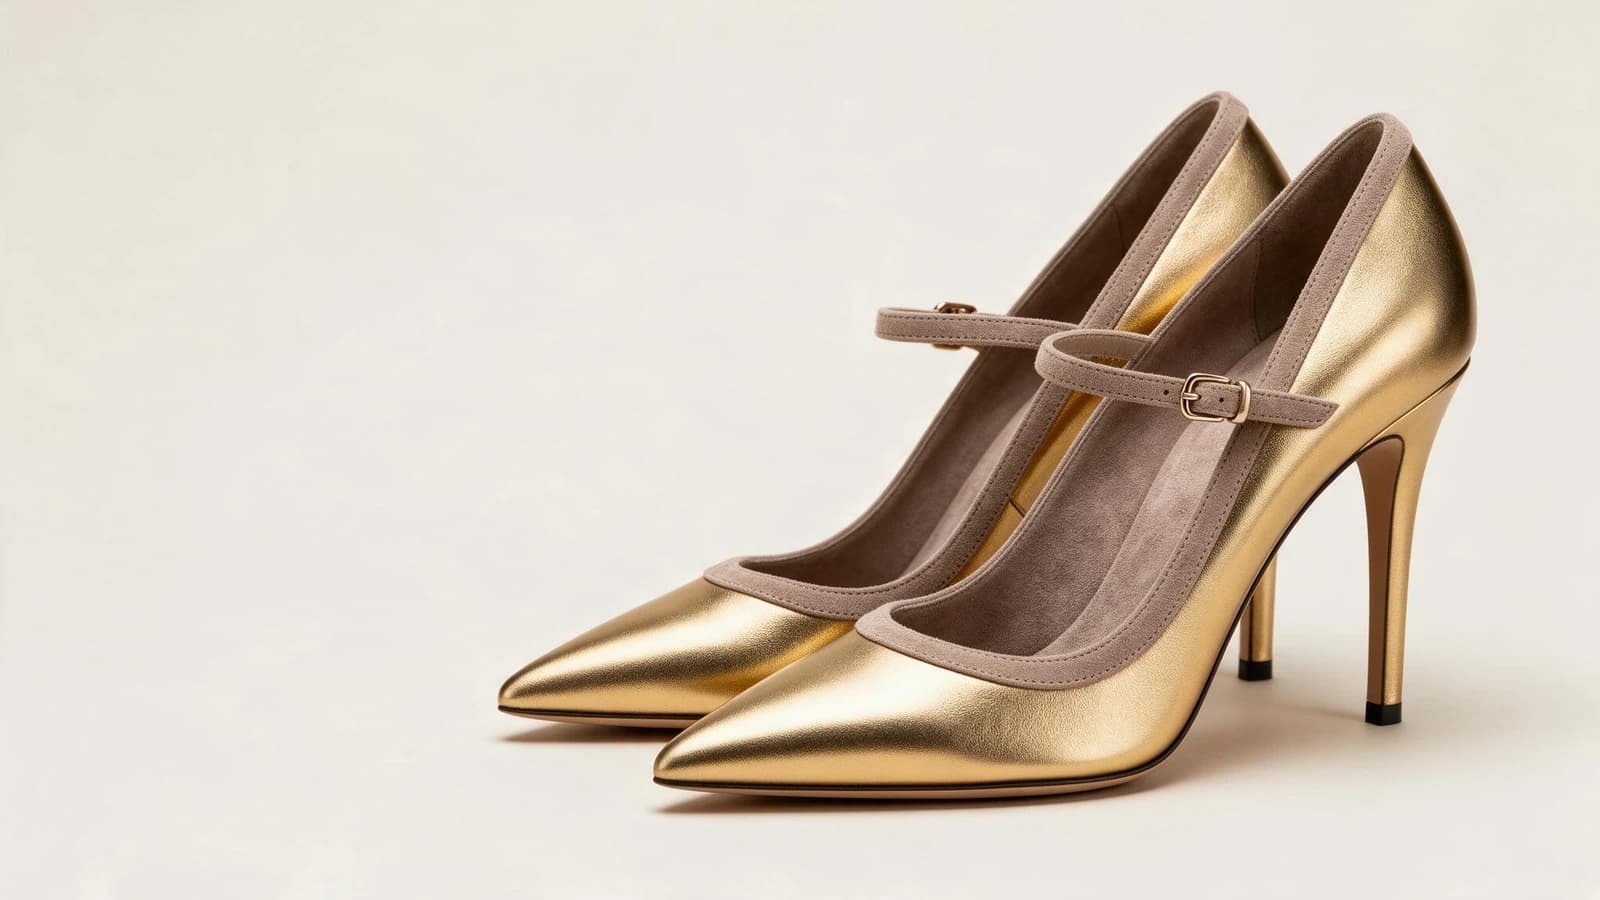
The subject cut out on real transparency: the mirror and the background gone, nothing left behind them.
What you get, and why it matters
You get a PNG with a real alpha channel, genuine transparency, not a white rectangle behind your subject.
That distinction sounds pedantic until the first time you drop a "cutout" onto a coloured layout and discover a white box around it. With real transparency, the subject sits on pink, on a photograph, on a gradient, on anything, and the edge just works.
It's why every prop in our blog's own header could be scattered over a pink gradient, those are cut-out PNGs, and if they'd been white-backed the whole design would have collapsed.
How to use it
Step 1: Start with a photo that helps you
The tool is good. It isn't magic. What makes the difference:
- Sharp focus on the subject. A blurry edge has no edge to find.
- Contrast between subject and background. A white mug on a white counter is genuinely hard. The same mug on a wooden table is trivial.
- Even lighting. Deep shadow merging into a dark background gives the tool nothing to separate.
Phone photos are completely fine: this isn't about camera quality. It's about whether a human could trace the outline easily.
Step 2: Run it (10 credits)
Open tools, pick Background Remover, drop the file in.
Step 3: Look at the edge before you use it
Zoom in on the boundary. Four things trip up every cutout tool ever made, this one included:
- Fine hair. Individual strands against a busy background are the classic hard case.
- Glass and anything transparent. The tool has to decide whether you want what's behind the glass. It usually keeps it, which is sometimes wrong.
- Motion blur. A blurred edge is ambiguous by definition.
- Subject-coloured backgrounds. Blonde hair against a cream wall, a black jacket against a dark room.
If one of those bites, reshoot against a plainer background if you can. Ten seconds of thought at the photo stage beats any amount of fixing afterwards.
What to do next with it
The cutout is rarely the finished thing. Two useful chains:
Product on a new set, cut out (10), then background change (20) to describe the setting you want. Thirty credits, from kitchen table to studio.
Poster or layout, cut out (10), then drop the PNG into Canvas or your design tool. The transparency means you can put it anywhere.
When not to use it
If you want the subject in a different scene and you don't care about keeping the original background at all, background change (20 credits) does both steps in one and matches the lighting better than compositing a hard cutout onto a new backdrop.
Use the remover when you need the transparency itself, for layouts, overlays, or anywhere the background will be a design element rather than a photograph.
The cost, in perspective
Ten credits is less than a Flux Dev image and a quarter of a Nano Banana render. Practically speaking, if a background is wrong, removing it is always cheaper than generating a new picture, and it keeps the subject you already liked instead of giving you a different one.
That's the whole argument for the photo tools, and this is the cheapest example of it.
Try it
Open the background remover and run it on a photo from your phone. Ten credits, one click, and you'll know within a minute whether the edge quality works for what you're doing.
More on the rest of the set in the photo tools, and on pricing in what everything costs.
- #RemoveBackgroundFromImage
- #AIBackgroundRemover
- #누끼따기
- #TransparentPNG
- #ProductPhotoBackground
- #CutOutImageAI
- #BackgroundRemovalFree
- #E-commerceProductPhoto
- #AIPhotoTools
- #Gendia
Got any questions left?
Yes. It returns a PNG with a genuine alpha channel, not a white rectangle behind the subject, so the cutout sits cleanly on any colour, gradient or photograph.
10 credits per image, the cheapest tool on Gendia. That is less than one Flux Dev image and a quarter of a Nano Banana render.
One where the subject is sharp and contrasts with what is behind it. A white mug on a white counter is genuinely hard; the same mug on a wooden table is trivial. Phone photos are fine.
Fine hair against a busy background, glass and anything semi-transparent, motion blur, and a background the same colour as the subject. If one of those bites, reshoot against a plainer background.
When you want the subject in a different scene and do not care about keeping the original background. Background change (20 credits) does both steps in one and matches the lighting better than compositing a hard cutout.