3D Generation: One Photo In, a Model You Can Open in Blender
Gendia turns a single object photo into a textured 3D model for 400 credits, exportable as GLB, FBX, USDZ or OBJ. What the settings do and what a good source photo looks like.
Most of the platform makes pictures of things. This one makes the thing: a real 3D mesh you can open in Blender, drop into Unity, or view in AR on a phone.
It's 400 credits a go, which makes it the most expensive single generation here after long video. So it's worth knowing what decides whether it works.

What you get
Four export formats, and between them they cover most of what anyone needs:
- GLB: the web and general-purpose standard. Start here.
- FBX, game engines and animation pipelines.
- USDZ, Apple's AR format. This is what puts your object on an iPhone camera.
- OBJ: the universal fallback, understood by everything.
There's a Download All if you want the set.
The source photo decides almost everything
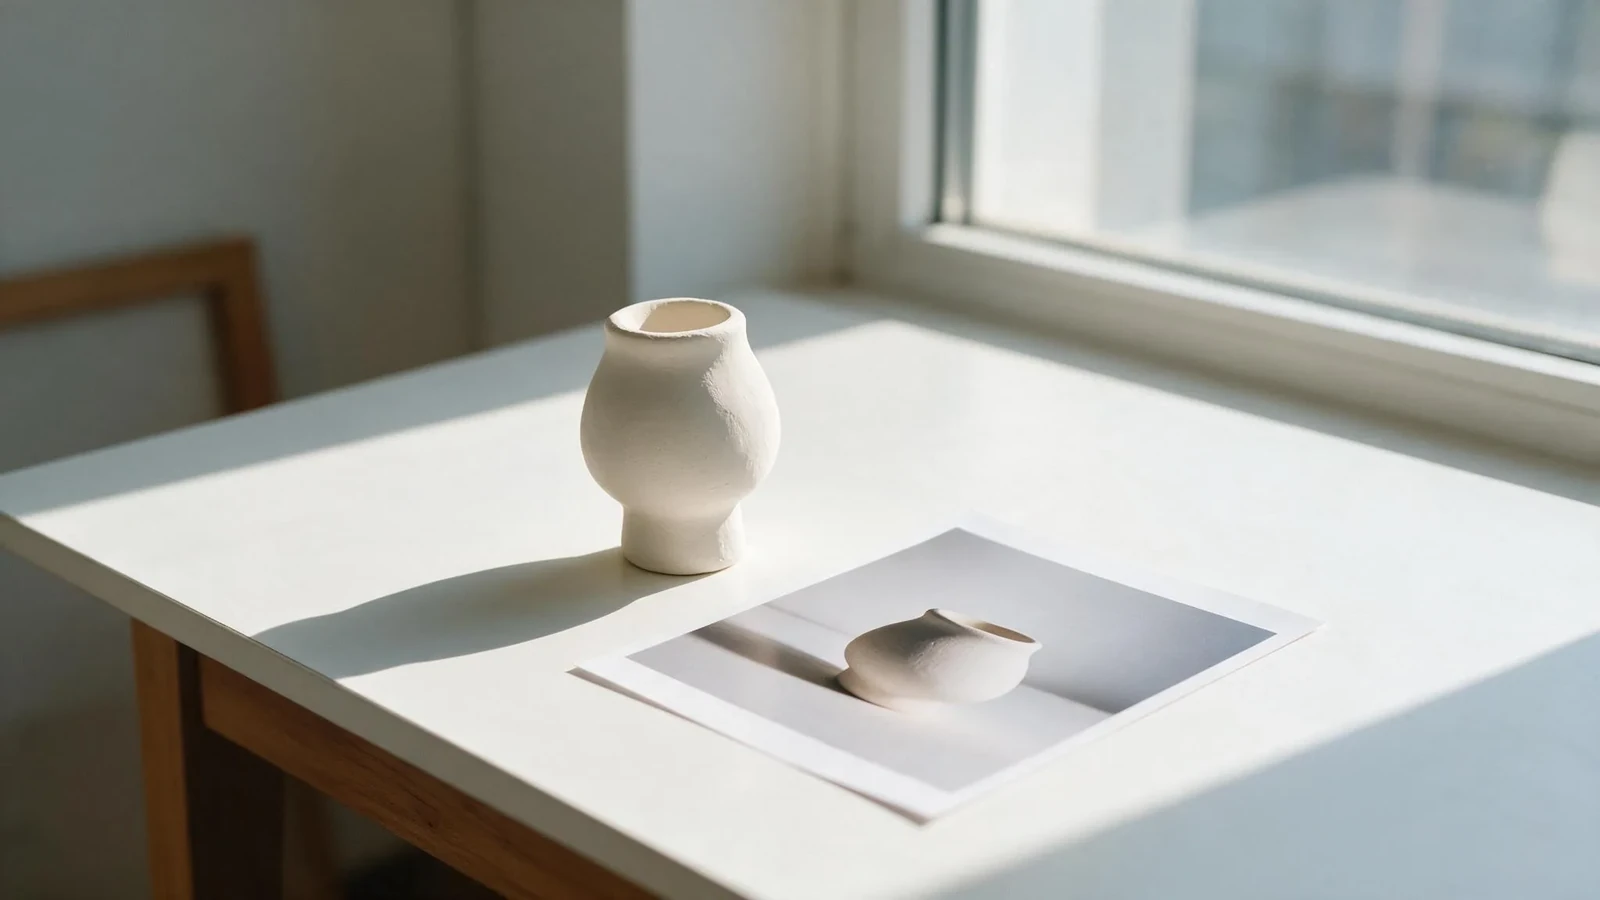
The tip in the app is blunt about it, and it's right: single, well-lit objects on plain backgrounds work best.
What converts well:
- One object, whole and unobstructed
- A plain background: the model has to work out where the object ends
- Even lighting, no deep shadow swallowing one side
- A three-quarter angle showing more than one face
- Solid, opaque, matte surfaces
What fights it:
- Several objects, or an object partly behind something
- Busy backgrounds
- Glass, chrome, anything mirror-like, reflections read as geometry
- Fur, hair, foliage, fine mesh
- A dead-on flat view, which leaves the depth to guesswork
If your photo isn't clean, run it through the background remover for 10 credits first. Ten credits to protect a 400-credit generation is an easy trade.
The settings
Quality (polygon count), Auto, 10K, 30K, 100K or 300K. This is detail versus weight and wait.
- 10K, light, fine for a background prop or a web viewer
- 30K: a sensible default for most things
- 100K / 300K, when the object is the subject and you'll be looking closely
Higher isn't automatically better. A 300K mesh of a simple bottle is a heavy file describing a shape 30K would have handled, and it takes longer.
Style (topology), Triangle or Quad. Quad if a human will edit or animate the mesh; quad topology is what modelling tools expect. Triangle for anything going straight into a game engine.
Keep both sides the same (symmetry), Auto, On, Off. Turn it on for something genuinely symmetrical, like a bottle or a chair, and you'll get a cleaner result. Turn it off for anything deliberately asymmetric, or you'll lose the asymmetry.
Realistic materials (PBR), proper shading response to light, rather than a flat painted surface. Worth it for anything being rendered or put in AR.
Clean geometry (remesh), reorganises the mesh into something tidier. On if a person will edit it.
Surface style (texture), applies colours and patterns. Off gives you untextured geometry, which is what you want if you're going to texture it yourself.
Where 400 credits is worth it
- Product visualisation: one photo becomes a model you can render from any angle, forever, without another photoshoot
- AR, USDZ means a customer can put your product on their table through a phone
- Game and 3D assets without modelling them
- A base mesh to refine by hand, which is far faster than starting from a cube
Where it isn't
- You only need more angles of a product. Generating images from different viewpoints is far cheaper.
- The object is reflective or hairy. Expect to be disappointed, and check the limits above first.
- Production-critical accuracy. This reconstructs a plausible object from one view; it doesn't measure one. For anything dimensionally exact, it's a starting point, not an answer.
Before you spend
Two checks, and they cost 10 credits between them:
- Is the object whole, lit, and on a plain background? If not, fix that first.
- Is it opaque and matte? If it's glass or chrome, expect trouble and decide whether 400 credits is worth the experiment.
The single most common way to waste this tool is feeding it a photo that was never going to work.
Try it
Open the 3D generator with a photo of one solid object on a plain surface: a mug, a shoe, a bottle. Leave quality on Auto for the first run. Then open the GLB and turn it around; that's the moment it becomes obvious what this is for.
Then: the background remover for prepping the photo · what everything costs
- #ImageTo3D
- #AI3DModelGenerator
- #PhotoTo3DModel
- #GLBExportAI
- #AI3DAsset
- #3DModelFromPhoto
- #ARModelGenerator
- #AIProduct3D
- #GendiaTutorial
- #Gendia